About brandon314

I heart mech.

Long Time No Update – Waking the Donor Bus

In preparation for some winter project time (and donor-bus gutting), I wanted to get the Series 50 woke up and confirm it’s good for plucking.

A old tank of fuel mixed with some B100 has been hanging out in the fuel tank for quite some time. Unfortunately this meant a bit of work to get the bus back to a running state.

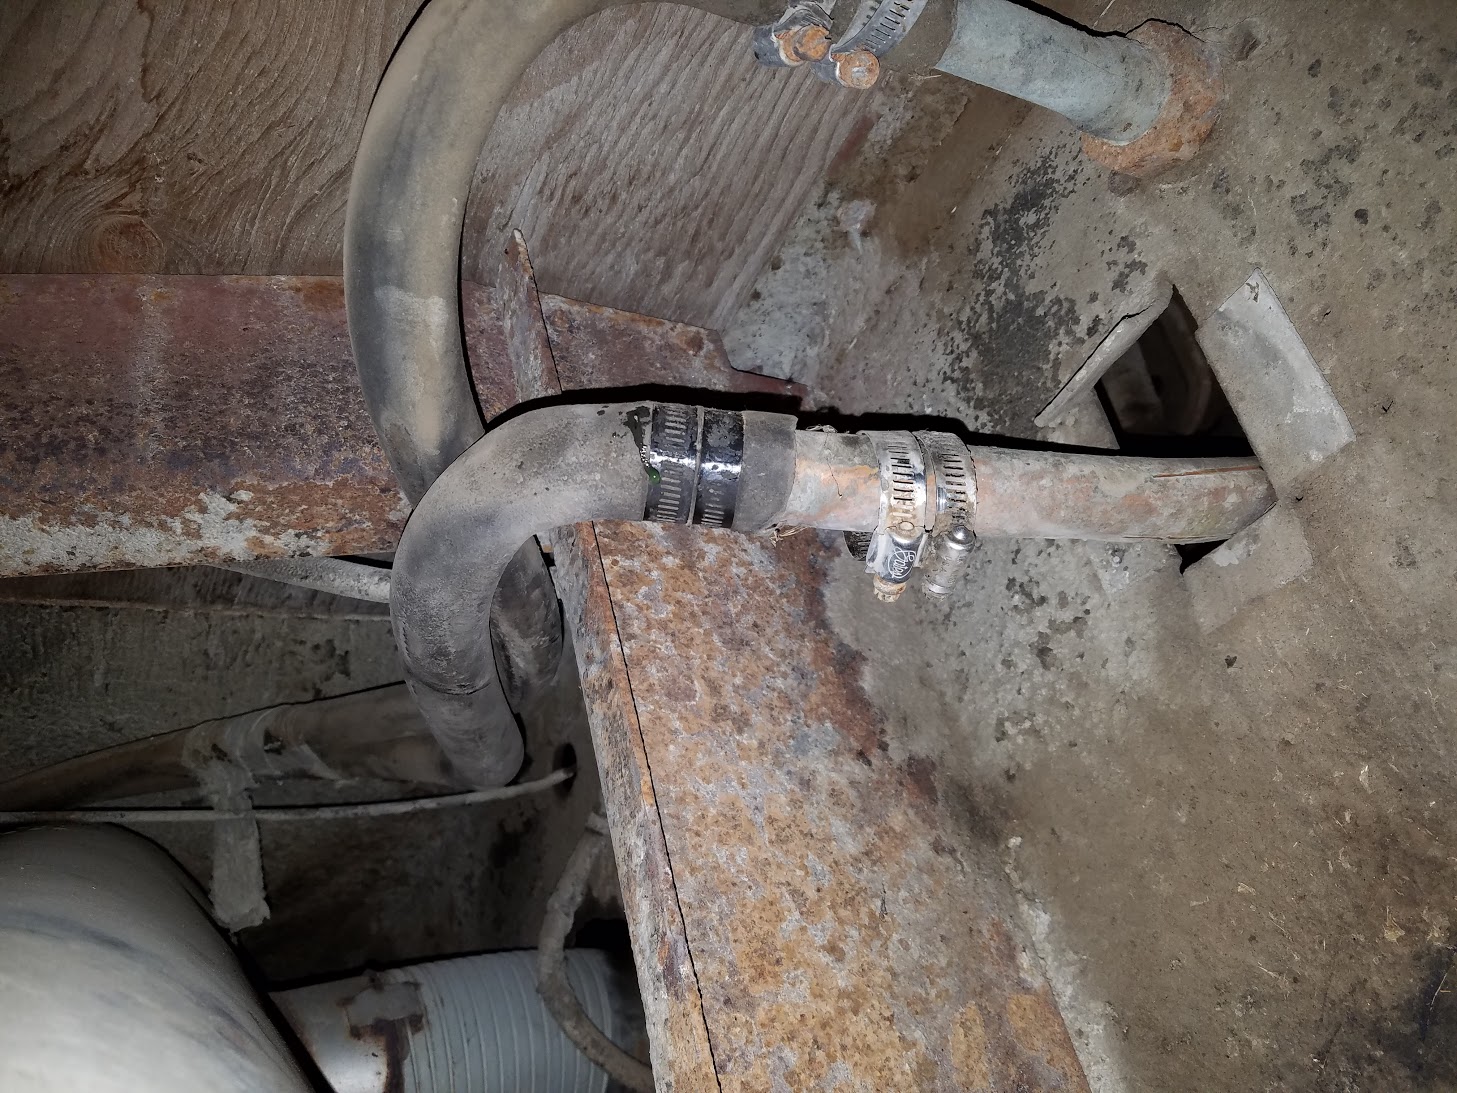
The hand primer pump on the primary filter bit the dust (likely due to biodiesel chewing on it) so air got sucked into the fuel system. Replaced the filter base with a temporary one and a filter I had on hand. I’ll likely replace that hand primer pump base with like because the filter is a very common thread (1″ – 14 pitch). Now that the system had lost prime, I also changed out the secondary filter (which happens to cross reference to a 3120, the same filter used on the Ghost!). I prefilled the filter to help with priming. 

When it came time to start things up, no amount of cranking could get the engine to even so much as cough. Playing with fuel lines, checking filters, etc. had me concerned the fuel pump had also given up. I confirmed the engine was topped with coolant, and while doing so realized that I hadn’t seen a “CHECK ENGINE” light turn on during first power-up. That had me concerned that the ECU may not be receiving power. About that time, while checking connections and doing some more cranking, a battery cable terminal decided it was a good time to melt. 

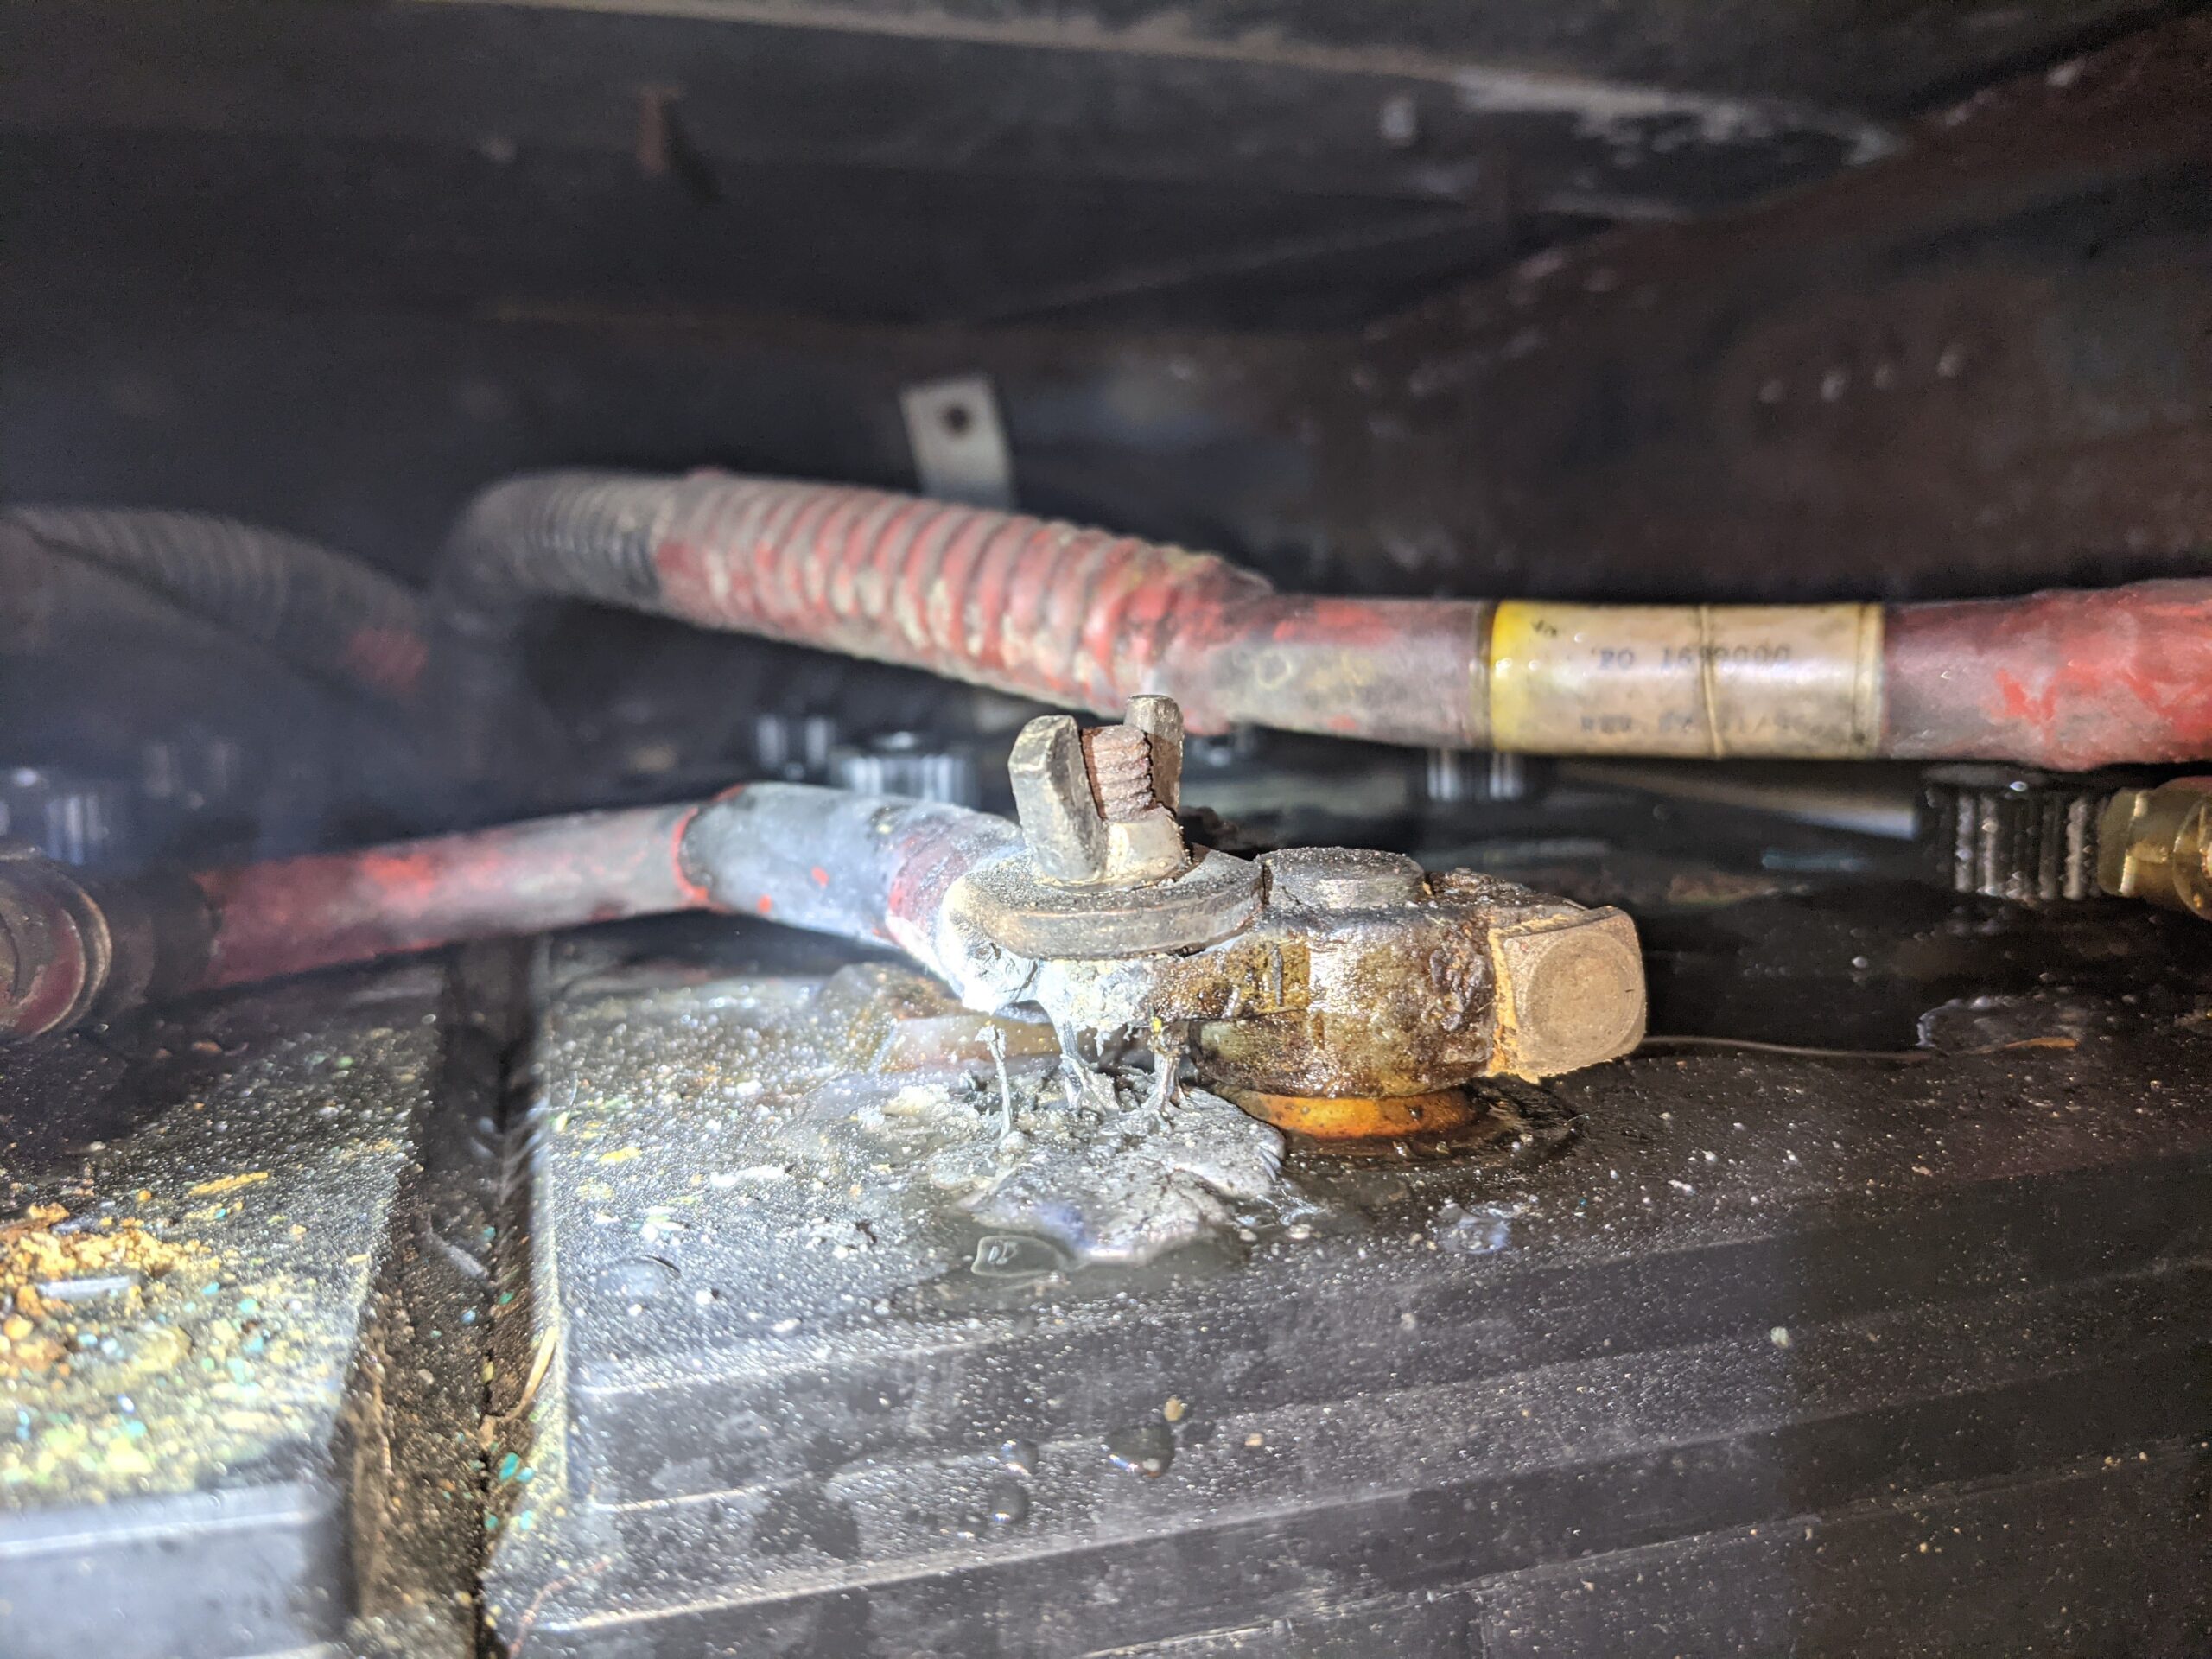
Battery Terminal Death

With a new terminal installed on the freshly cleaned post and cable end, it was time to give the starter another go. To my surprise the engine coughed on one cylinder. Much more cranking, starter resting, battery charger keeping things topped up, another cylinder came online. As the Series 50 is only a 4-cylinder, it takes more than 2 to maintain an idle. Eventually 3 cylinders caught and it maintained some sort of idle. Throttle response was poor. 

As can be seen, things are better but still far from correct. The fuel system contamination seems to have really cut deep. I continued to let the bus run in Fast Idle mode, shaking itself (and my nearby house). I continued to play with the throttle, eventually being greeted by a Check Engine light popping up on the dash. I confirmed the injector harness between the DDEC module and cylinder head entrance was undamaged. After 15-20min of idling, it started to sound different so shut it down, waited for the power-off, then restarted. Thankfully all 4 cylinders firing smooth as ever. Woo!

I’m guessing that I’ll be replacing injector o-rings while the powerplant is out an accessible. That fuel likely attacked everything rubber that it touched. Next stop is a fuel tank drain and purge the system with fresh/clean diesel. 

More later.

Pre-Mogfest/Burning-Man Trip Upgrades

A short list of attempted repairs/upgrades. We’ll see how far through the list we actualy get.

  • Replace Engine Water Pump – This started leaking out the shaft seal at Alvord but hasn’t leaked since. A replacement has already been acquired.
  • Adjust slack adjusters on brakes
  • Convert new-to-us front air-conditioner to function with residential thermostat
  • Finish cleaning and painting CockPit Area
  • Re-mount HAM & CB Radio
  • Re-mount driver electric fan
  • Re-mount backup camera screen
  • Add rubber air-dam under radiator to prevent mixing at low speed
  • Insulate around front Fantastic Fan
  • Connect front Fantastic Fan to power source
  • Mount bedroom 12V LED reading light
  • Fix sliding bedroom door
  • Vibration isolate potable water pump
  • Add additional LED light strip in kitchen
  • Build curtain rod and mount for Miles sleeping zone
  • Cig socket in bedroom
  • Fix Satellite Radio power Cord (or replace)

I’m sure more projects will present themselves…whee!

Post SOAK*2016 Repair

Well, quick post to update what I found causing the earlier mentioned coolant leak in the heating circuit.

It appears that a rather tight bend in the heater hose turned into a fold at some point (though still flowing water) and the brass-tube inserted inside (where connected up to the 12V Aux Pump) sawed through the hose and produced a TINY LITTLE CUT.

Heater Hose Damage

Damn…little cut, big water.

A fairly easy repair all in all. Drop the muffler, cut off the bad section of hose, re-route and push back onto the pipe and clamp down. Appeared to be okay for this last trip, but a LOT of extra zip-ties helped the situation.

I can still taste the coolant….

SOAK*2016 & Broken Stuff

Fresh back from The Portland Regional Burning Man Event SOAK*2016, a photo of camp!

20160524_193425


A fairly laid back short jaunt out to Tygh Valley, Oregon with only a couple hiccups along the way. We’ve been fighting cooling issues for quite awhile. I recently completely blocked off the bypass tube (since The Ghost has a shutter-stat for the radiator) and this drastically improved our overheating issues.
While exiting off I-84 westbound in The Dalles I noticed something in my mirror. Closer inspection showed that liquid was flying from the area of the exhaust pipe. I snapped my eyes to the temperature gauge and it showed a nominal 184F so we pulled it over and had a gander. What I found damaged was not unexpected. Upon installing the new exhaust system years ago and re-routing heater hoses I had one that was precariously close to the GIANT muffler. I had added abrasion resistance material but I’m sure that is worn through or fallen away. We shut off the lower valve to the heater system and blocked the upper (somewhat haphazardly) with a plastic bag (great material suggestion by Em after my initial glove blockage failed!) . Lots of steam, a coolant top-up, and a few 1st degree burned fingers later, we were back on the road..

Going to have to repair that hose and re-route it somewhere more intelligent. Always a pleasure working under a 20,000lb vehicle.

Our next adventure is the Alvord Desert for some friends/family camping time doing very little but enjoying the scenery and good company. We’ll bring the Haflinger, a land-sailer, and the Trail 90 motorcycle for additional outings. Last year the dude was just over a month old so we’ll see how he fairs this year.

Exhaust System Upgrades

Well I forgot to post awhile back that I had upgraded the exhaust system on The Ghost. There was significant motivation (both internal and external) to see if things could be quieted down a bit. The 5″ resonator combination was only providing (at best) about 3dB out of the box. Adding some batting internally and externally (fiberglass) helped with that but it still had a very tell-tale Detroit 2-stroke level of noise that sent the kids running.

So, seems very simple…just purchase a new muffler and bolt it on. I wish it was that easy…

The factory setup on the coach had two flat wide oval mufflers running off of 3 cylinders each on the forward side of the engine between it and the bulkhead. This worked okay, however the exhaust pipes were fairly small (2.5-2.75″?) and the cans were rotting out (from the outside, in). The upgrade (when replacing the cylinder head) was to install the 6 into 1 manifold (4″ native outlet), size it up to 5″, and add the resonator and a couple bends; passing through the firewall, placing the resonator on the other side, and the dump just ahead of the radiator on the drivers side. In looks, this worked very well. In practice and traveling over the road, it was WAY TOO LOUD.

Earlier this year I started hunting for the biggest 5″ in/out muffler that I could find that MIGHT fit in that restricted area just forward of the firewall bulkhead. I eventually settled on a Walker 22917 oval muffler (side inlet, end outlet) although the outlet was offset to the wrong side for my particular installation.  This would require some modification, but it seemed within the realm of possibility so I plunked down the $186 to have one delivered to my door.

Old Exhaust on the right, new exhaust on the left.

Old Exhaust on the right, new exhaust on the left.

Old exhaust on the left, new on the right.

Old exhaust on the left, new on the right.

Old on the right, new on the left.

Old on the right, new on the left.

Once the muffler arrived, I started drafting up ideas for mounting and realized that the proposed modification should/would solve the issue. The critical dimension between the outlet of the engine where it passes through the bulkhead and the edge of the body is what made this the only muffler that would fit. Also, the narrow gap in this area meant a thicker/rounder/wider muffler was out of the question. As it turned out, if the muffler was >1.5″ larger in any dimension it would be impossible to place into that compartment without some serious slicing and dicing. I did some less serious slicing and dicing to move the inlet to the other side to allow the outlet to properly match up with the position I needed for final installation.

The Old Inlet Side (soon to be covered)

The Old Inlet Side (soon to be covered)

The remaining piece I needed to use to plug the hole

The remaining piece I needed to use to plug the hole

Of course it's wet out.

Of course it’s wet out.

Modified Inlet, about to tack the far side so it doesn't break loose internally later on.

Modified Inlet, about to tack the far side so it doesn’t break loose internally later on.

Finished product, with outlet on the low side (for my turndown tip)

Finished product, with outlet on the low side (for my turndown tip)

The next addition was to add a short piece (~6″) of 5″ flex pipe to aid in connection/vibration of this new much LARGER muffler. I’ve had the connection break loose at the manifold before due to the prior muffler’s weight (even with support on the end) so I want to remove as much tension off the manifold as possible. This short piece of flex also allowed me to use a band-clamp to connect the muffler to the existing piping (which will aid in removal later, if the need arises).

Once this was bolted into place, I added a support bracket with rubber isolator (re-used the old one) to support the end of the muffler. The turn-down was installed and held in place with the same clamp that was used to mount the support bracket. This, hopefully, will allow me to adjust the tip angle while entering/exiting Black Rock City to avoid kicking up even more dust into the radiator fan.

The final product ended up being a SUBSTANTIALLY quieter ride and exerting much less fatigue on drivers/passengers. Conversations can be had in the front seats while at-speed (shy of the wind noise) in normal volumes. The note from the drivers side of the coach is still present but is more of a muscle car level instead of a open 5″ stacks on a semi-truck sort of level. The CFM ratings on this unit were as high as I could find for that space, so I don’t feel too bad about adding too much more restriction into the outlet of my 6-71 two stroke. I believe the advertised numbers that walker presented.

Thanks for checking in!