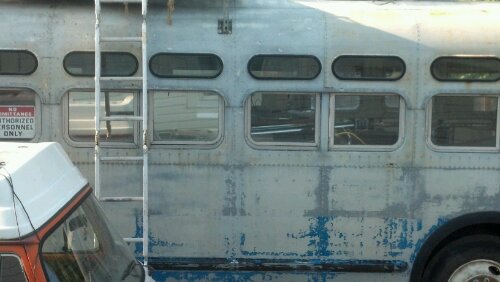
Interior Documenting August 2012

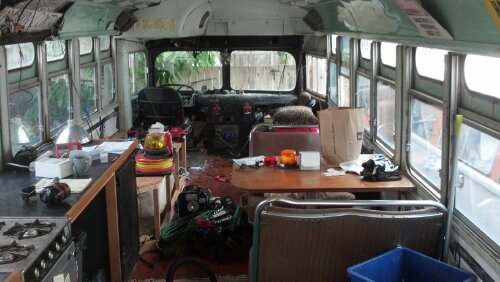
Some quick photos of the inside and current build state before Burning Man 2012.


I am right in the middle of finishing out the bathroom enough to have a decent shower space so that plus the kitchen sink area is a bit under construction…

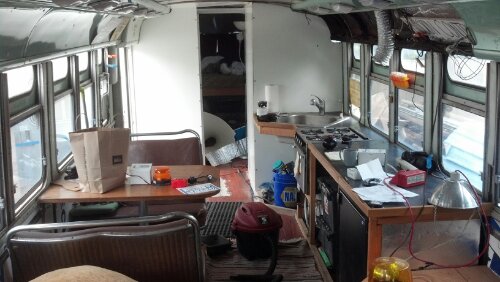
View looking forward from entry door landing:

image

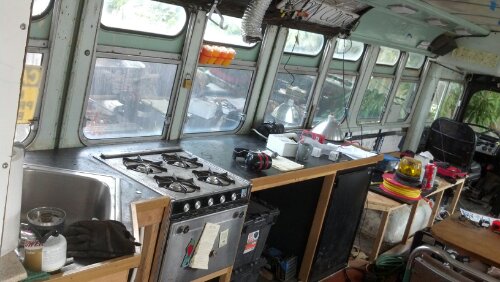
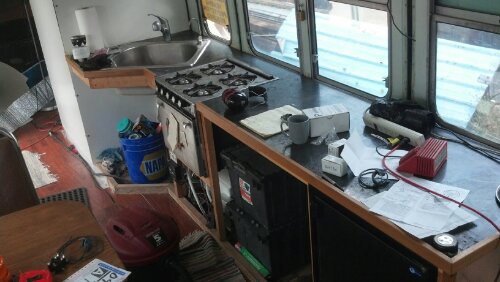
View of the kitchen from the entry landing:

image

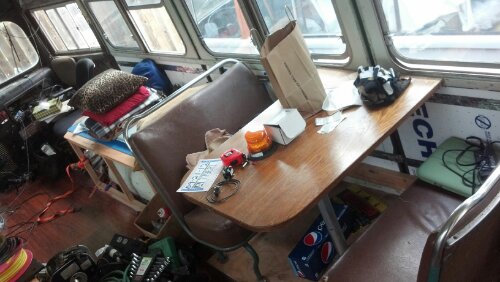
Seating area (stock bus seats from the 50’s), lightly elevated for breaking up single plane interior:

image

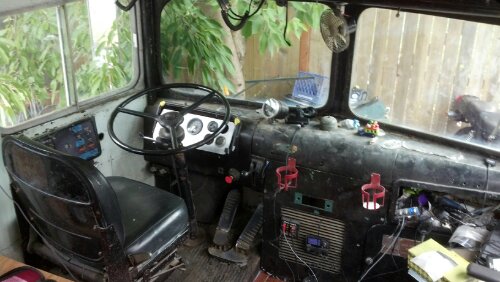
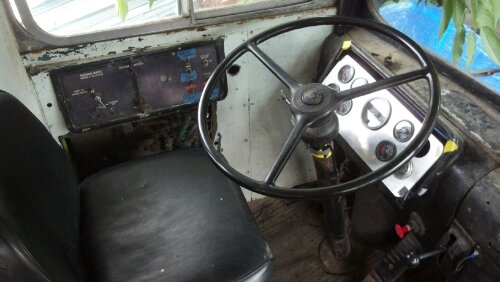
Drivers position (dash not yet fixed in place with screws):

image

Drivers control panel/seat/steering wheel/pedals:

image

View from the front facing back towards the bedroom/bathroom w/ sliding door open (dining room chairs lightly tilted to help keep people ‘in the seat’.

image

Kitchen view from the front. Sink/stove/fridge visible, not yet framed for storage or drawers/power equipment:

image

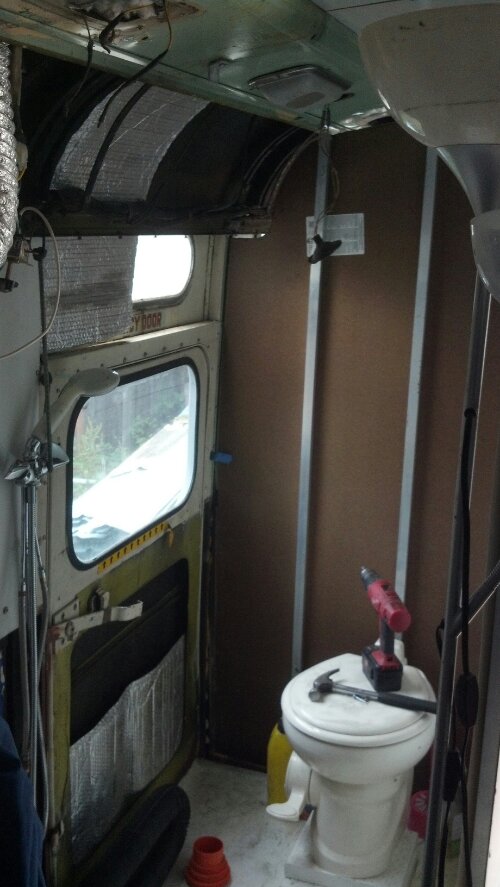
Bathroom current status (removed upper advertisement panels), ready for insulation and plastic wall material behind toilet.

image


Thanks for checking in!

Window Tinting!

After last year’s desert excursion (Burning Man 2011) and with our recent visit to 4th of Juplaya (2012), we decided that window tinting was now upgraded to a MUST HAVE to be able to survive in a metal tube (with glass windows) in the desert.

I picked up some ‘somewhat’ reasonably reviewed Gilla window tinting from Lowes (similar price to Amazon) and while it isn’t rated for automotive applications, should work nicely on the RV application. It is an actual adhesive (not static cling) and installs just like it would on a car (soapy solution + plastic knife). The results have been quite decent for single pane glass. I first did a rear bedroom window (directly facing into the sun) and it made a 10-12 degree F difference in surface temperature (on the white mattress). The glass had a slightly higher temperature but when viewing from the outside, it is obvious that the tint/thermal management film is doing it’s job (good rejection).

This, combined with the white painting that is happening, should DRASTICALLY improve interior temperatures of the coach in the summer heat in the desert. We don’t often open the windows at Burning Man (bad dust) so having them closed with this film should help the situation. I’m hoping it will be decent enough for us to not need to run our solar reflectors (silver bubble wrap) inside the windows as well but we shall see. The overall ‘tint’ of the windows isn’t that substantial however the reflective rejection properties are pretty decent.

For your consideration, tinted on the left, non-tinted on the right. Noticeable difference. I haven’t tinted the upper smaller windows yet.

I should have the rest finished off in the next couple nights!

image


Thanks for checkin’ in!

VS2-8 Fix Update – Repaired!

As some may recall, from my last post, the ‘replacement’ transmission for The Ghost ended up being an incorrect ratio (non-ideal) and would require some fancy footwork on the old transmission to make things work.

Well, all that work is now complete and The Ghost is back into operational status! The transmission repair and replacement ended up being a breeze. Using the good overdrive planetary + clutch pack from the ‘new’ transmission to install on the damaged ‘old’ transmission, I ended up with a fully functional (and hopefully happier shifting!) overdrive! The transmission pan (upon inspection) was rather clean and while in there I added a couple 1/4″ washers to the pressure regulator spring stack on the fluid pump to give a little extra pressure in the heat.

The only remaining projects are to cut the hole for the transmission oil cooler in the side door, tidy up a couple little leaks, and do a final hose/bolt check after the NorthWestMogFest shakedown run!

I snapped some photos through the process randomly so enjoy!

Picture of the completed setup:image
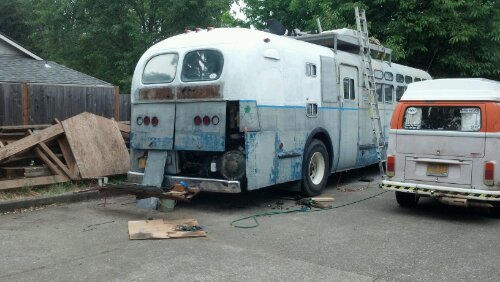
The repaired transmission ready to go back on the transmission jack and be installed:
image

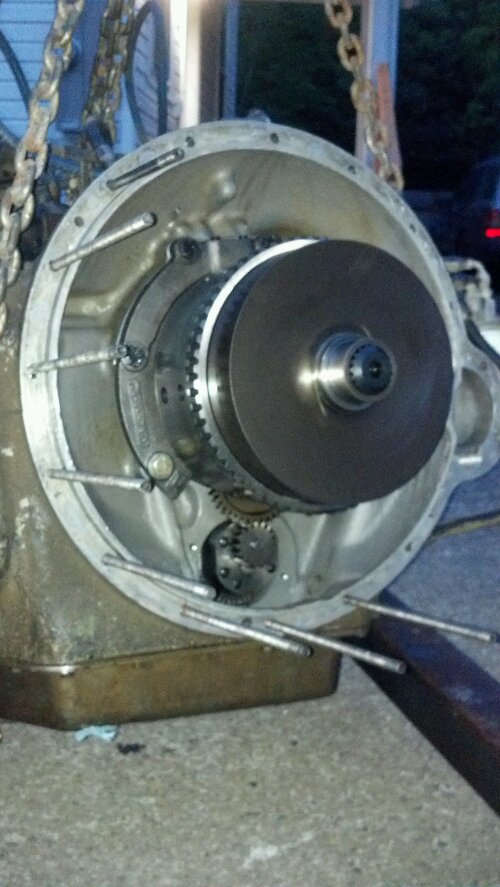
The freshly cleaned flywheel housing with good used bushing installed in the flywheel. This bushing was from the ‘new’ transmission and fit so tightly that I have no issue using it versus machining a new one.
image

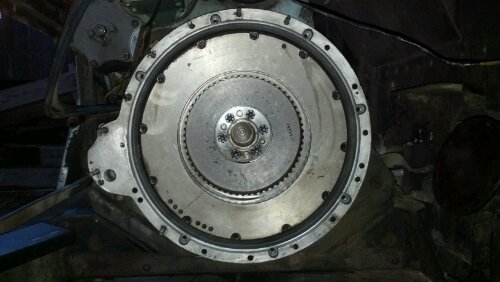
Another photo of the new transmission preparing to be installed:
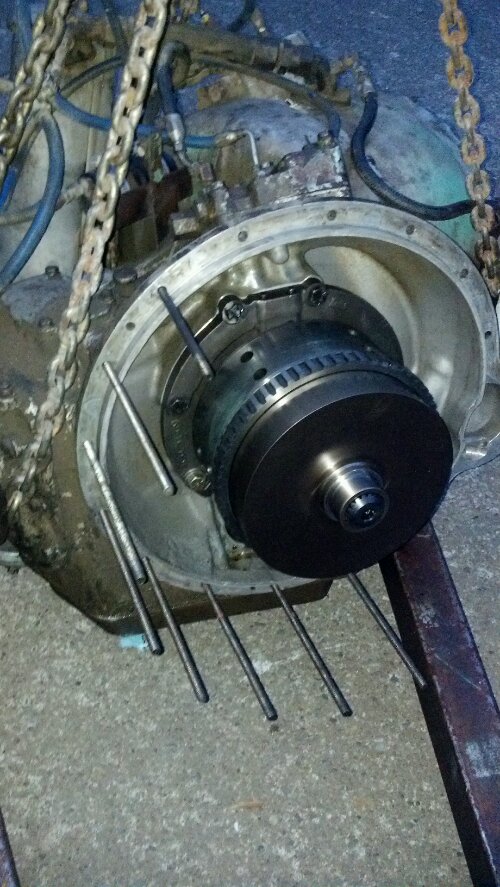
image

A photo (for documentation) of the required modification (in addition to shaving the ring down for proper end-play) to the spacer ring around the starter area for clearance.
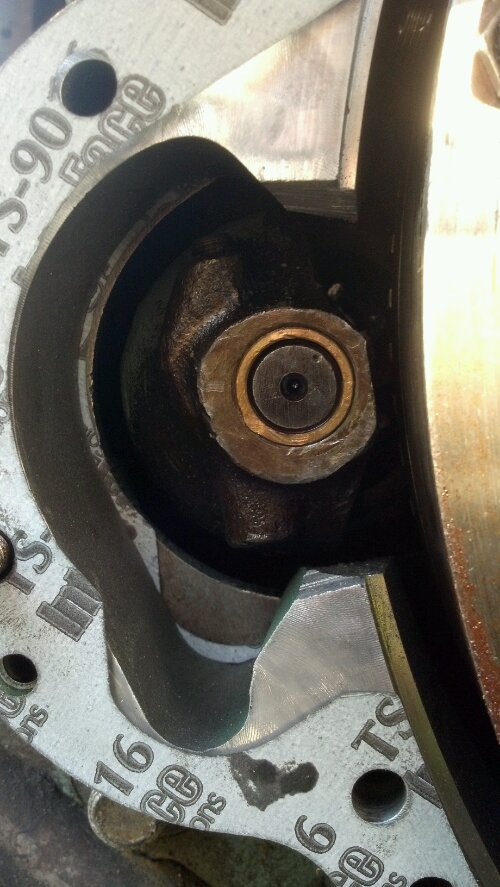
image

Here’s a photo of the milling bed being set up to shave down the bellhousing spacer (removed 0.230″ from one spacer to properly set the end-play on the splitter O/D gear pack).
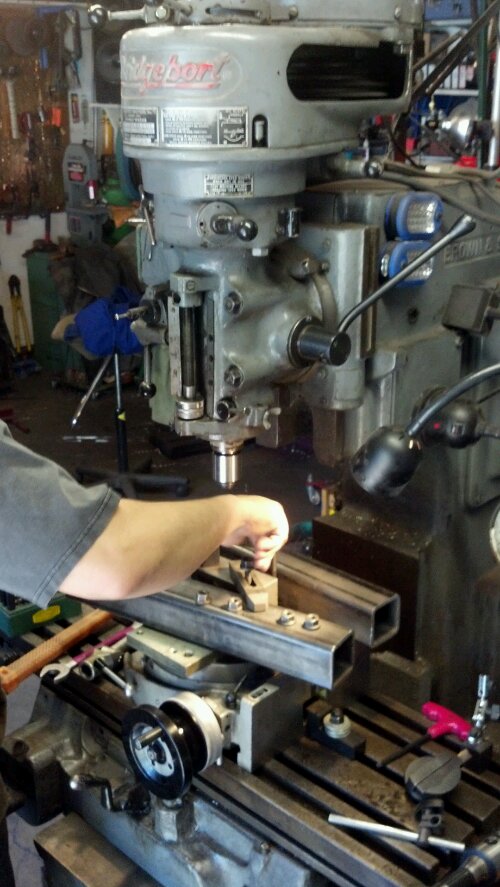
image

Here’s another photo (thanks Andy!) of me using a cordless drill to run the rotary table around while removing material off the spacer. Worked well!
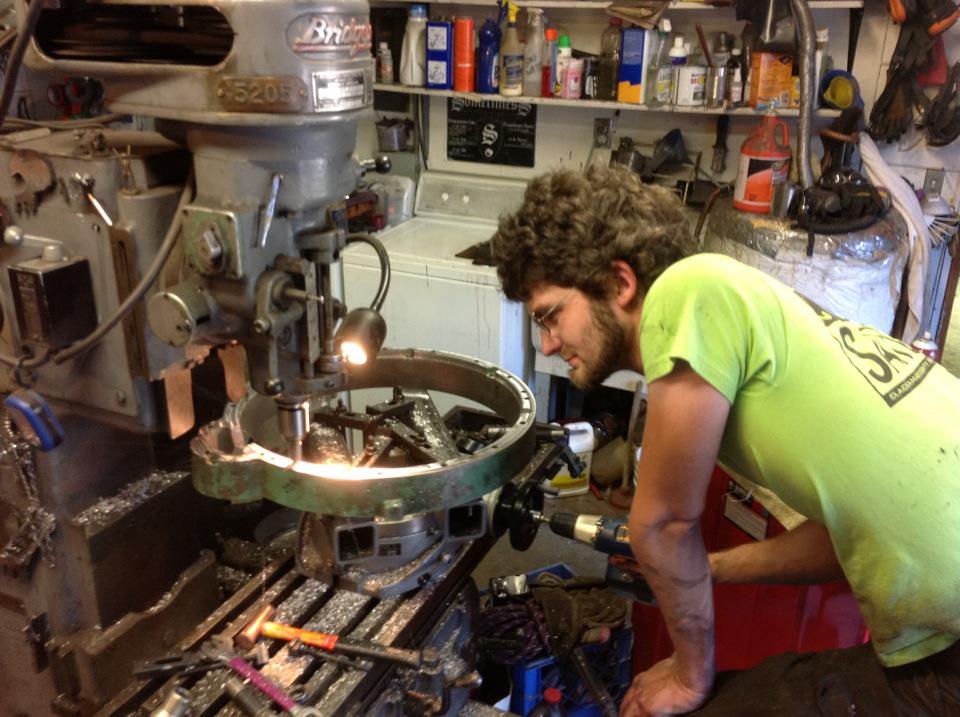


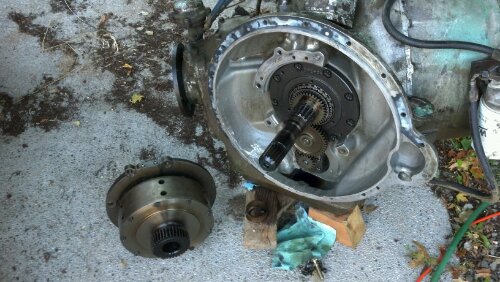
Here’s a photo of the ‘old’ clutch pack and sun gear assembly after removal from the ‘old’ transmission input shaft. You can see the black sun gear in the bottom left.
image

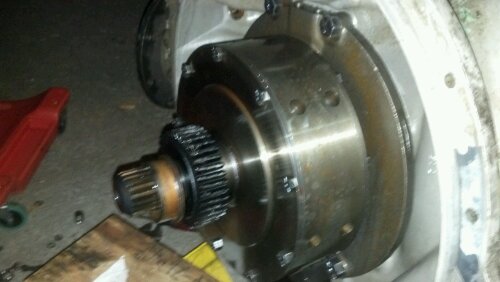
This is what I found (expected) when I removed the transmission. Blown up planetary gears and a damaged sun gear.
image


All in all the whole process was made a LOT easier by having a cement driveway, taking my time, and having milling machine access for doing the spacer ring adjustment (thanks again Andy!) Let’s see if we can keep this setup together so I don’t have to repair it for a 3rd time! Getting tired of having to swap transmission parts right before Burning Man 🙂

Thanks for checking in!

Major Bummer!

The new transmission, on the verge of being installed, reared it’s ugly head and showed it’s true nature………it’s the wrong ratio!

It happens to be one of the most rare VS2-8 models…and there’s no way to tell unless you drive the bus or drop the pan. Unfortunately it’s the center bevel gear ratio so it’s not really worth changing on an otherwise good transmission.

So the game plan is to take the good parts (overdrive gears, clutches, oil pump, etc.) and move it into the busted transmission.

Unfortunately it means more work….but we shall prevail!

More soon.