For day two, while waiting on transmission parts, I decided to do some work on the engine while the transmission is off and things are ‘relatively’ accessible. There has been an ongoing suspicion that the engine timing was set to standard (versus the now accepted desired setting of advanced).
To remove this part of the engine, it must be supported as the motor mounts connect to this piece. We used a forklift with two bolts on the lifting eye bolted into the cylinder head. There are numerous bolts that hold the housing to either the block or to the plate (which bolts to the block)
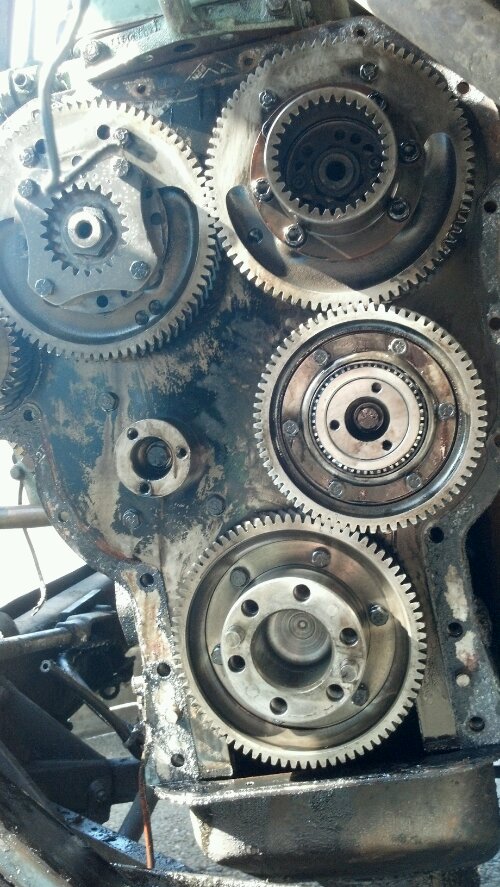
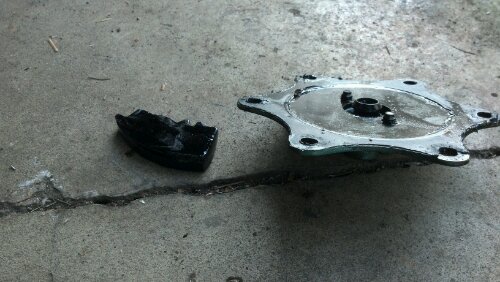
As it turns out, the engine was set to standard timing. This was corrected. We also found that at some point in the past an older style non-metallic compressor drive (center of upper-left gear) had busted into pieces and some had fallen down into the housing. We discovered a fairly large piece and expect to find more in the oil pan. The drive has since been replaced with the newer steel type so that shouldn’t be a problem again.
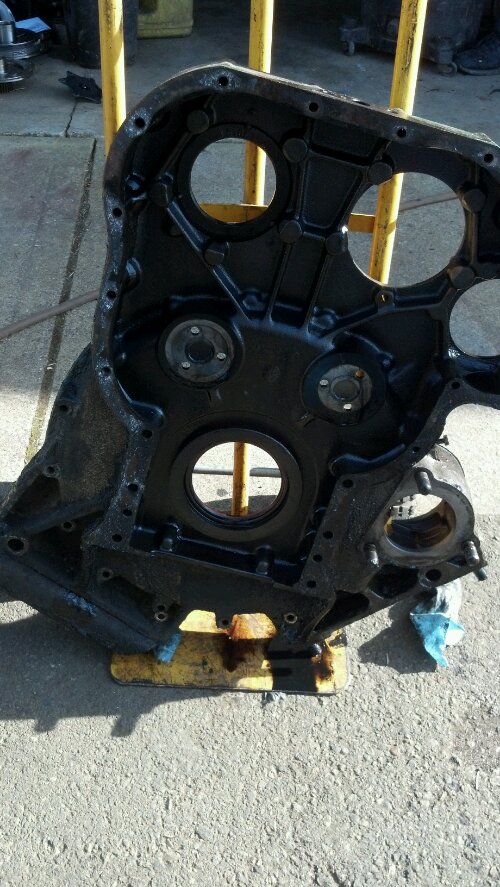
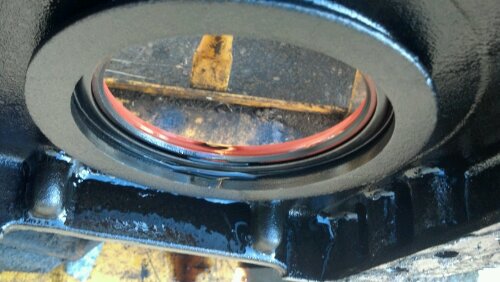
It was also discovered that a single-lip rear main seal had been installed when a double-lip is more appropriate with a wet bellousing (transmission fluid). Fortunately the crank journal where the seal seats is in very good condition so a wear sleeve and oversize seal is not required. The paper-gasket was high-tack adhered to the block/plate and Permatex Aviation Form-a-Gasket was applied to the paper gasket before bolting the housing back on. The oil-pan still needs to be removed to apply a new gasket and clear out any old paper gasket/pieces of the drive coupling from before.
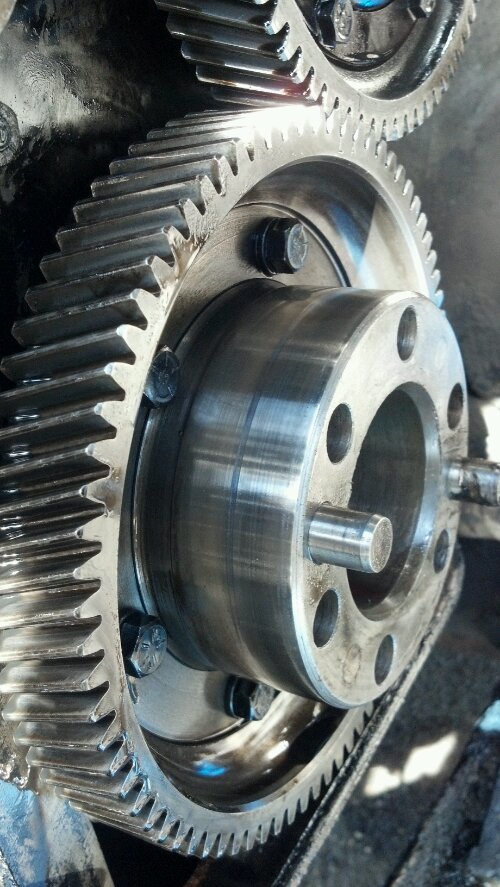
Photo of the cam/balance shaft gears (generator drive on the right, air-compressor drive on the left)
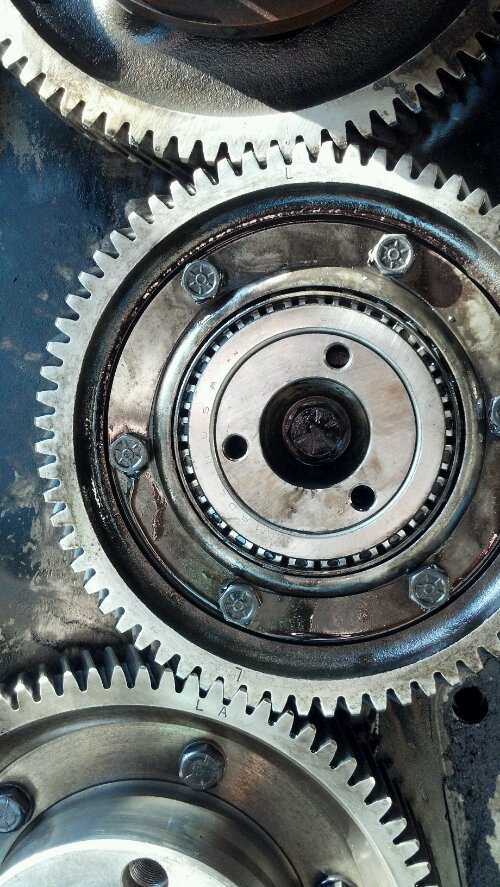
A close-up of the timing marks to indicate when the balance shaft and camshaft is in-time.
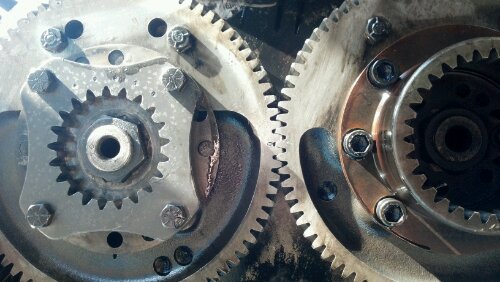
Post-Adjustment showing the L mark lining up with the A mark. Previous L was with L (left standard to left mark). This was changed by removing the idler gear (bolt in the center) and rotating the cam/balance shaft combination to give one tooth advance.
This is the cover, removed from the engine, needing the old gasket scraped.
Here is a close-up photo of the sealing surface for the rear main seal.
The old rear main seal (single lip) before removal.
On the left, the piece of material we found in the housing rubbing up against gears. On the right, the cover for the tachometer drive and blower end)
The next big step for this project will be removing/cleaning/re-installing the oil pan gasket (both upper and lower). With all the cross-members under the coach, this will be rather annoying but it has to be done. The transmission parts will hopefully arrive sometime this week or early next week so I can get started on bolting the transmission back together and preparing for re-installation. New style filters and an external oil cooler will be fitted (GM style transmission cooler for their full size pickups). I am also toying with installing a full-flow cooler for the torque converter circuit. We will see how much space is available for these modifications (the transmission already rubs on the passenger side engine bay door.
All-in-all finding the timing off made the tear down worth while. It also put me at piece of mind because (shy of the oil pan) this was the last piece to remove that could have had ‘hidden stuff’, like broken non-metallic drive parts (last year found that the water pump drive was failing as I was servicing the governor flyweight housing and also had the air compressor drive (compressor side) fail while at SOAK 2011. The timing adjustment should give the engine a little more pep and with a fresh rack run-up, it should bring the power and torque up to snuff.
Thanks for checking in.
