VS2-8 Fix Update – Repaired!

As some may recall, from my last post, the ‘replacement’ transmission for The Ghost ended up being an incorrect ratio (non-ideal) and would require some fancy footwork on the old transmission to make things work.

Well, all that work is now complete and The Ghost is back into operational status! The transmission repair and replacement ended up being a breeze. Using the good overdrive planetary + clutch pack from the ‘new’ transmission to install on the damaged ‘old’ transmission, I ended up with a fully functional (and hopefully happier shifting!) overdrive! The transmission pan (upon inspection) was rather clean and while in there I added a couple 1/4″ washers to the pressure regulator spring stack on the fluid pump to give a little extra pressure in the heat.

The only remaining projects are to cut the hole for the transmission oil cooler in the side door, tidy up a couple little leaks, and do a final hose/bolt check after the NorthWestMogFest shakedown run!

I snapped some photos through the process randomly so enjoy!

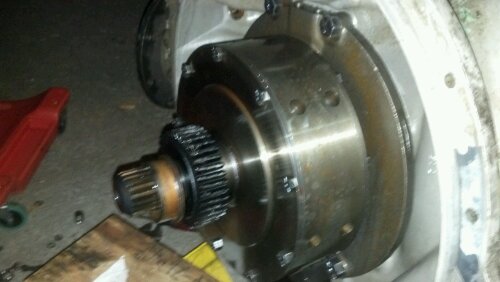
Picture of the completed setup:image
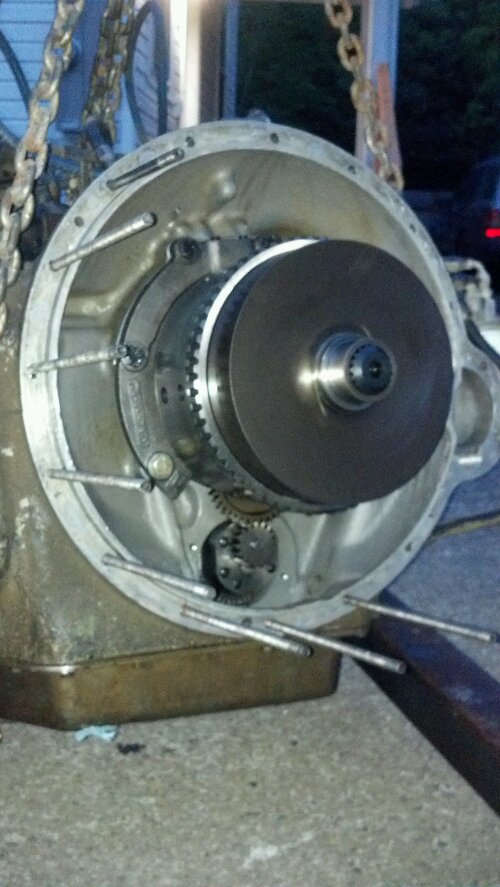
The repaired transmission ready to go back on the transmission jack and be installed:

image

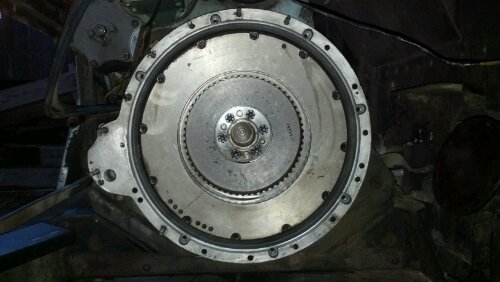
The freshly cleaned flywheel housing with good used bushing installed in the flywheel. This bushing was from the ‘new’ transmission and fit so tightly that I have no issue using it versus machining a new one.

image

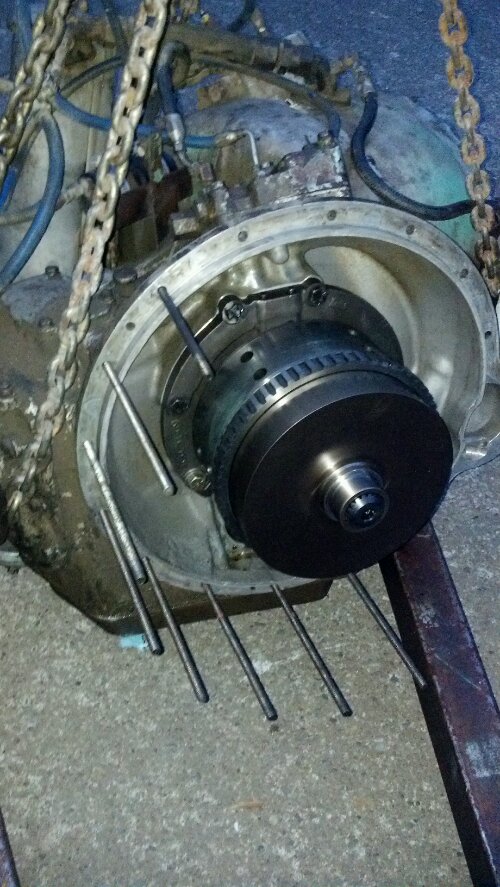
Another photo of the new transmission preparing to be installed:

image

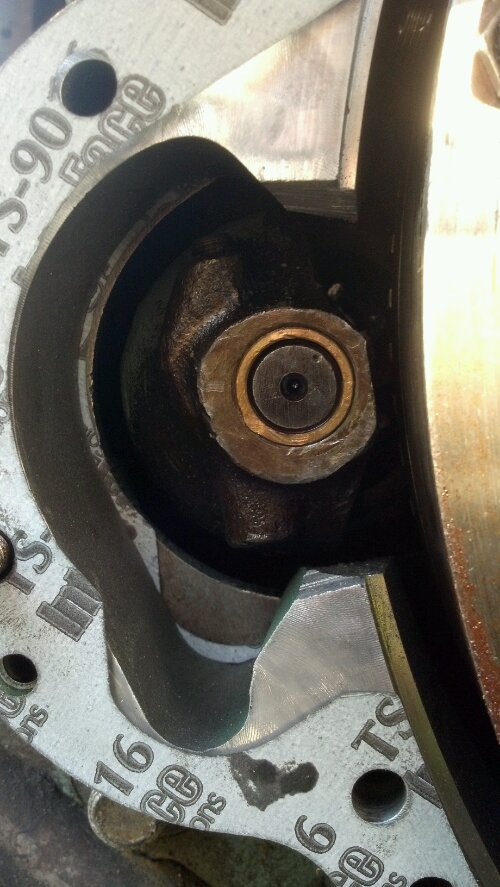
A photo (for documentation) of the required modification (in addition to shaving the ring down for proper end-play) to the spacer ring around the starter area for clearance.

image

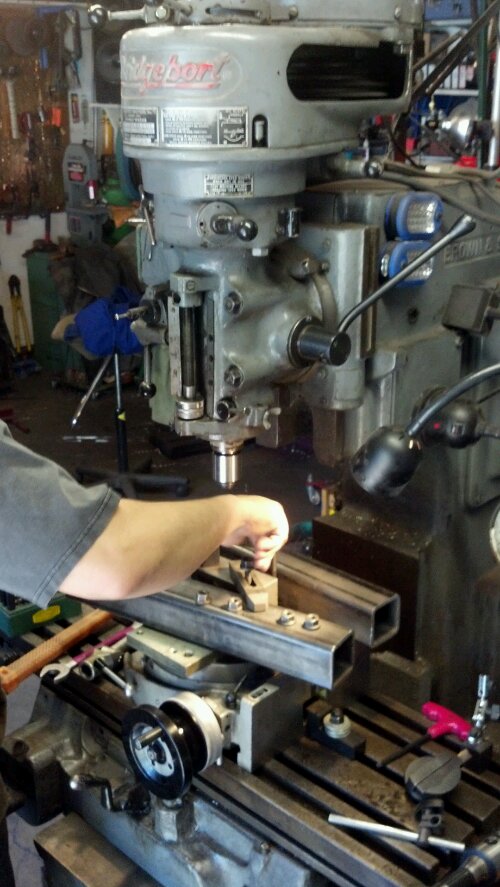
Here’s a photo of the milling bed being set up to shave down the bellhousing spacer (removed 0.230″ from one spacer to properly set the end-play on the splitter O/D gear pack).

image

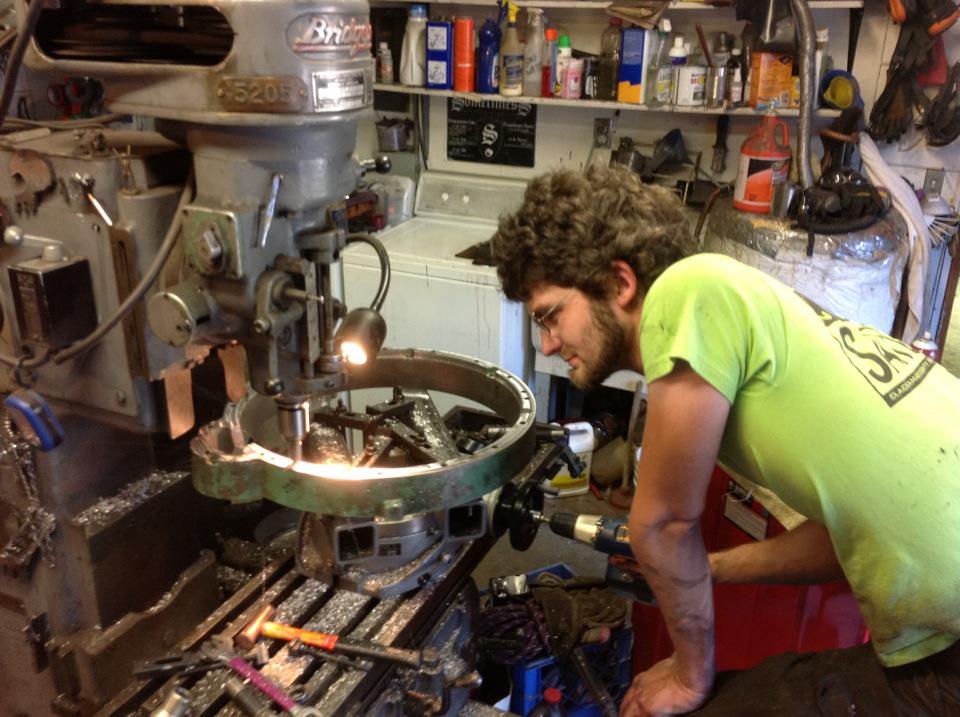
Here’s another photo (thanks Andy!) of me using a cordless drill to run the rotary table around while removing material off the spacer. Worked well!


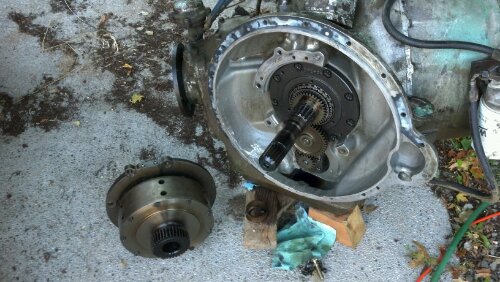
Here’s a photo of the ‘old’ clutch pack and sun gear assembly after removal from the ‘old’ transmission input shaft. You can see the black sun gear in the bottom left.

image

This is what I found (expected) when I removed the transmission. Blown up planetary gears and a damaged sun gear.

image


All in all the whole process was made a LOT easier by having a cement driveway, taking my time, and having milling machine access for doing the spacer ring adjustment (thanks again Andy!) Let’s see if we can keep this setup together so I don’t have to repair it for a 3rd time! Getting tired of having to swap transmission parts right before Burning Man 🙂

Thanks for checking in!

Major Bummer!

The new transmission, on the verge of being installed, reared it’s ugly head and showed it’s true nature………it’s the wrong ratio!

It happens to be one of the most rare VS2-8 models…and there’s no way to tell unless you drive the bus or drop the pan. Unfortunately it’s the center bevel gear ratio so it’s not really worth changing on an otherwise good transmission.

So the game plan is to take the good parts (overdrive gears, clutches, oil pump, etc.) and move it into the busted transmission.

Unfortunately it means more work….but we shall prevail!

More soon.

VS2-8 Repair Round TWO!

So, it broke again.

On our way back from Reno, NV (working after the 4th of Juplaya Trip), we lost overdrive just before Susanville. The feeling and the sound was the same. Large pow, and left with only 1st and 2nd gear. It was the middle of the night on a road that didn’t allow safely parking a 8ft wide 35ft long bus enough to have a look-see at what just happened. I did a visual, nothing was horribly wrong externally, so we continued on.

Fast forward to this week, I’ve been preparing to remove the transmission from The Ghost to determine the fault and drop in the replacement transmission! I recently acquired another VS2-8 from a gentlemen in Kelso, WA out of a Colorado (Mountain Metropolitan Transit) New Look T6H-4523A. The clutch packs look to be in sound shape (better than mine) and the internals were EXCEPTIONALLY clean. Assuming nothing alarming rear its head before installation, this will be the future transmission for The Ghost.

The reason I pursued an entirely new transmission was two fold. First, the parts to fix The Ghost’s VS2-8 (failed round two) are near impossible to find. Secondly, there may be a compound issue with low MAIN pressure on the transmission, which could be aggravating the lack of lubrication issue. Either way, I will be installing my sensors (two temperature sensors and one MAIN pressure sensor) along with the lock for 2nd gear (for descents with Jacobs brakes and climbing large hills).

To make this new transmission work, I will need to adjust the gear end-play from 0.250″ to .050″ or less. This large gap caused a bypassing of lubrication oil of the planetary gear driven plate…eventually leading to a failure of the bearings/bushings. I will be building a small spacer to insert into the transmission stackup to close this gap and hopefully solve the problem for good. This of course is the repercussions of installing a VS2-8 (designed for a deep bellhousing 8v71) on a 6-71 (with a shallow bellhousing) with dual spacer rings.

I also learned (by acquiring my VS2-8) that the factory setup on a 8v71 uses about 1/2 to 2/3 the number of bolts to hold the transmission to the engine that I am using in my setup, WITHOUT a external support on the end of the transmission. I have already built a support (using a motor mount rubber for a Kennworth tractor) so this should be plenty of support to keep the transmission attached to the engine.

Outside of adding this spacer, and re-installing with the new transmission, things should go rather smoothly. I recovered all of my old (undamaged) fluid so I could put it into the new transmission. This is similar to the fluid required for wet clutch driven heavy equipment (like bulldozers).

Over the next few days I should have the spacer built and be back to re-installation. Hopefully everything is ready for a shakedown run to NorthWestMogFest 2012 then shortly after down to BurningMan 2012!

Thanks for checking in!

Gray Ghost No More!


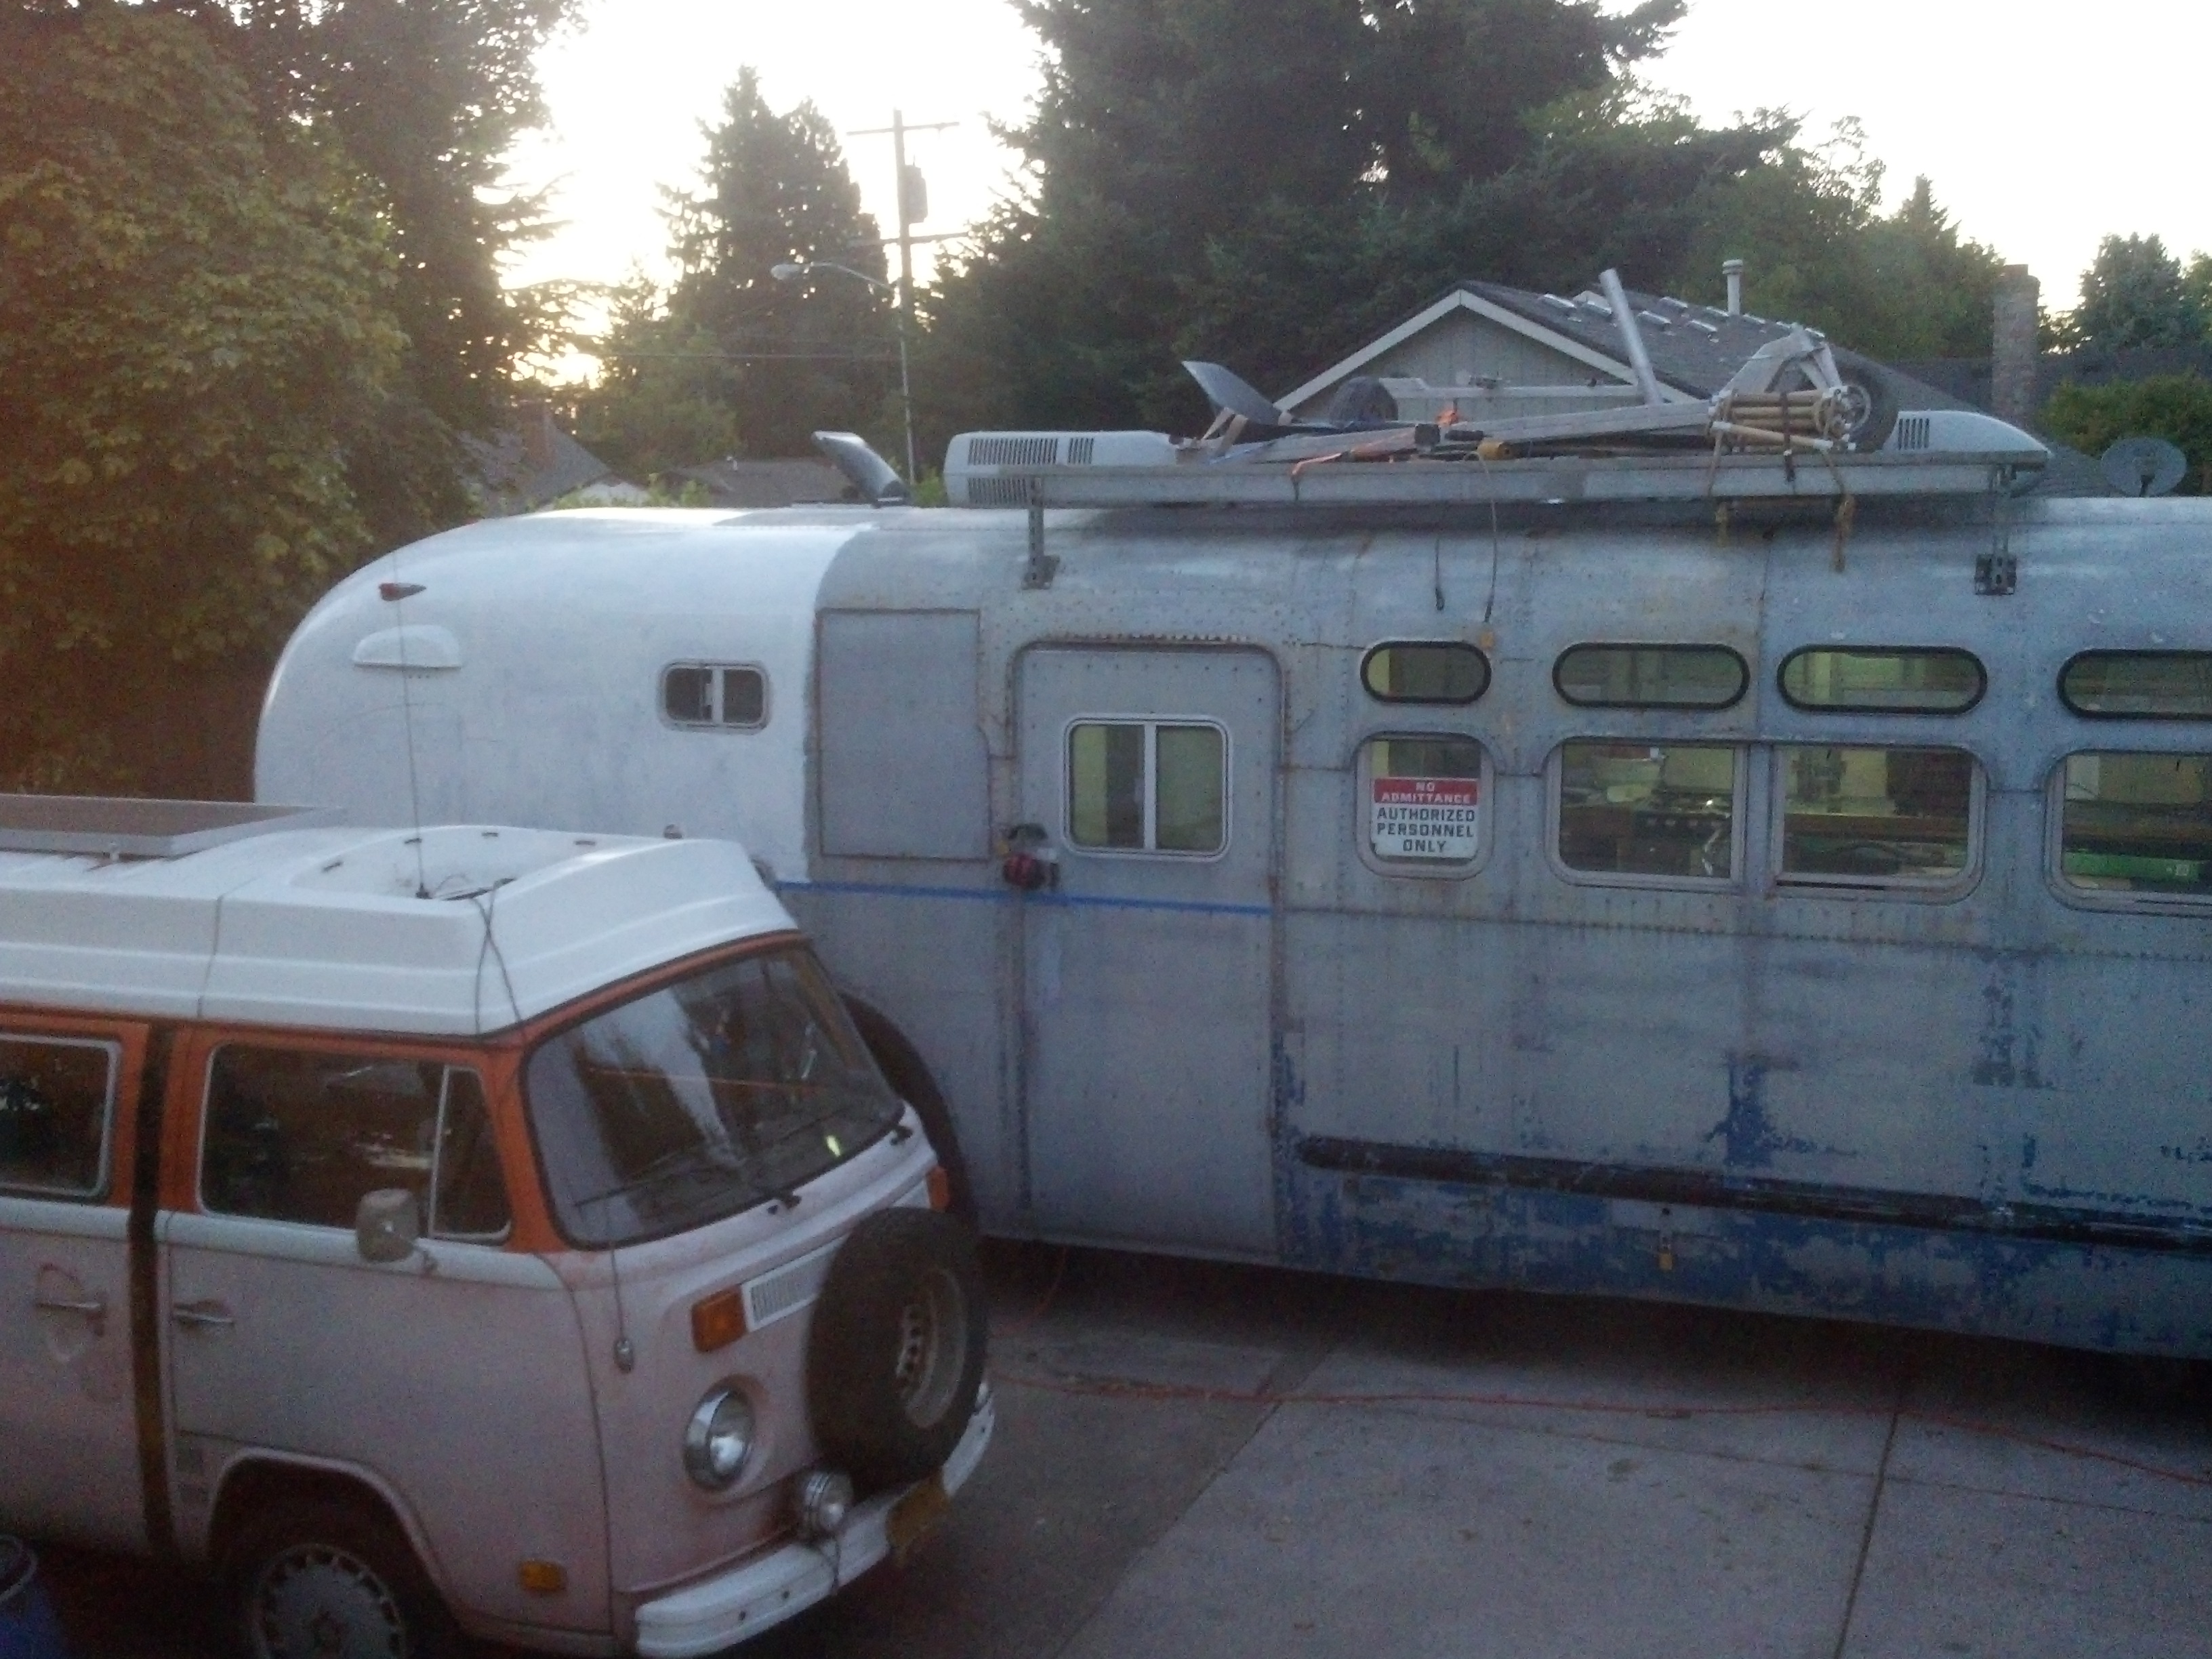
Quick update as I begin the roof-to-beltline painting of marine epoxy high gloss white on The Ghost. This will MASSIVELY help with interior thermal management and also with cleaning/etc.

For perspective, the gray roof gets so hot in full sun that I cannot hold my hand to it (120F+). The white roof on the Volkswagen Riveria nearby (same paint) is ambient (80-85F) temperature when touched in the same sun. The paint I’m using is Petit brand Easypoxy High Gloss White. It’s not cheap, but with a Port Supply account and some wheeling and dealing, I can get it about 1/2 price (gallon can retails over $120). It is deigned for boat top-side paint. It has to be applied in 2-3 thin coats over a few days for the finish to fully cure and be rock hard. This stuff is highly recommended if you have metal/wood/fiberglass that you want to seal/cover. Preparation for paint involves a pneumatic disk sander (for auto body work) and some medium grit disks. I’m also wire brushing all loose flakes/spots off before a good blast with pressure air to clean. I’m simply foam/bristle brushing it on and will low nap roller it on once I hit the large open areas.

I will be doing the whole length of the bus in this to the beltline to start the paint match to the original delivered color scheme (white, navy blue stripe, gray below). It should make things much cooler in the desert when done. Thanks for checkin’ in!

Burning Man 2012 – Trip Schedule for Ghost Riders

Here’s the current trip schedule for The Ghost Bus for the PDX/Black Rock City, NV route! It’s pretty hot and heavy but less of a push than last years. It should make it much easier on myself (as driver) and passengers enduring the warmth & lovely noise of The Ghost.

Thursday Aug 23rd, 2012:

  • 0800hrs – All riders meet up at Das Bremhaus, situate any cars to be left behind, and arrange last minute carry-ons
  • 0900hrs – Depart PDX from Das Bremhaus
  • 1030hrs – Stop at Santiam River Rest Area – South Bound
  • 1050hrs – Depart Rest Area
  • Random Breaks/stops as needed + Lunch
  • 1700hrs – Arrive Kalamath Falls Fred Meyers – Fuel Up
  • 1745hrs – Depart Kalamath Falls Fred Meyers
  • 1915hrs – Arrive Eagles Nest RV Park – Take on Water & Sleep

Friday Aug 24th, 2012:

  • 1000hrs – Depart Eagles Nest RV Park
  • 1100hrs – Arrive Alturas, CA – Gather Food/Supplies at General Store
  • 1130hrs – Depart Alturas, CA
  • 1140hrs – Climb over flippin huge Cedar Pass
  • 1159hrs – Remove seat from buttocks and begin enjoyable decent into Cedarville
  • 1220hrs – Pass through Cedarville – Add some fuel if needed due to extra weight
  • Bake across desert – Lunch as able
  • 1545hrs – Arrive Gerlach, NV – Bypass town unless anyone needs any last things
  • 1630hrs – Arrive BRC Gate Road
  • 1635hrs – Holy crap we made it.

Departure from Black Rock City will be fairly similar with departure likely slated for Wednesday early morning. I usually attempt to make a good run at getting up and over the Cedar Pass before the heat of the day really gets into full swing. That also makes for a very nice lunch stop at Alturas ice cream/burger place. Anyone who is interested in a return trip to PDX needs to clear it with Emily and myself BEFORE slated departure. If we’re transporting just your materials and not you, we need to know that as well (and get packed the night before).


Obviously plans can change due to vehicular issues, heat, exhaustion, emergencies, animals, mother nature, locusts, fire, and/or detours. The Ghost is NOT a fast way to arrive at BRC but if you are up for the adventure, welcome aboard. Ear protection recommended.