About brandon314

I heart mech.

Service Brake System Upgrades

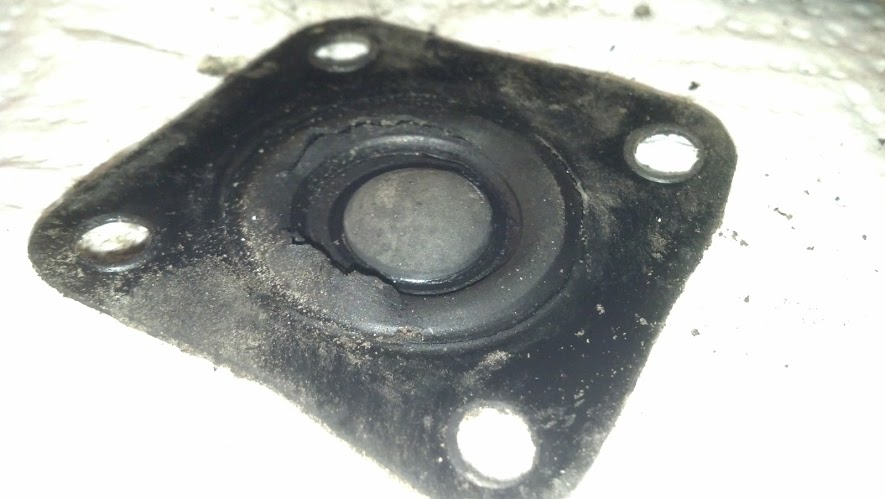
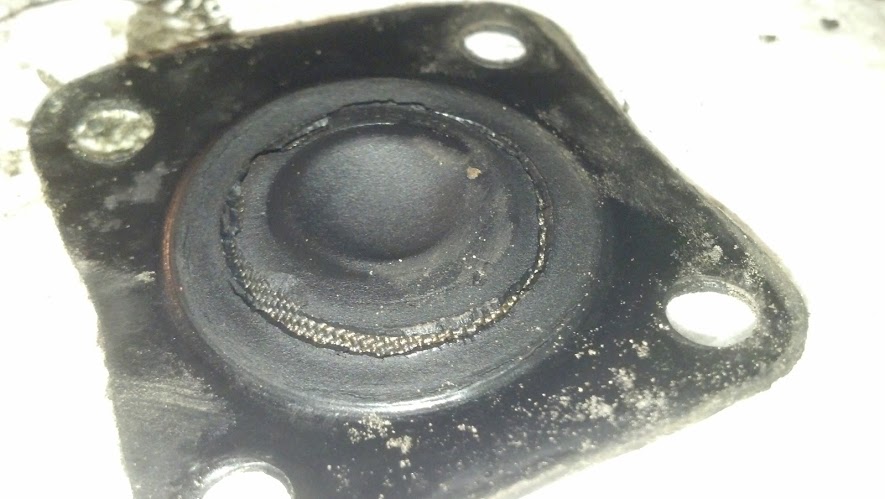
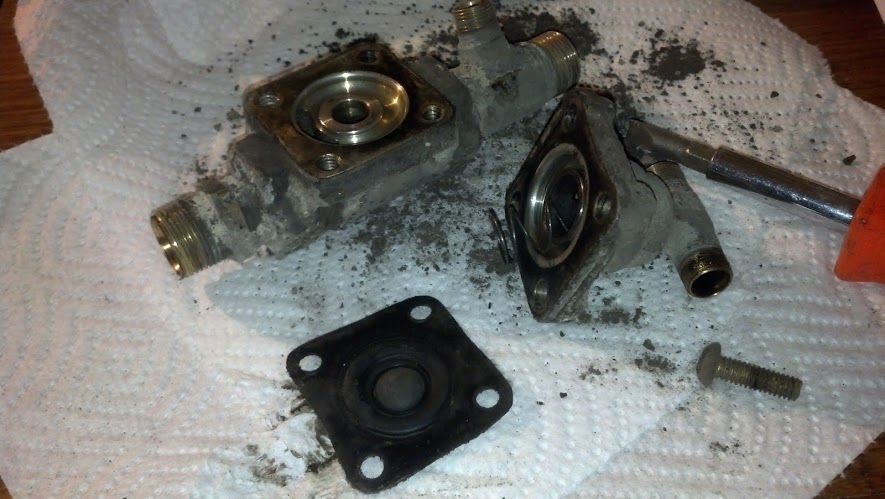
Hello again! Recently the service brake valve (a D1) that I rebuilt many moons ago started leaking again. Due to the age of the valve, the age of the rebuild kit, and the general lack of available parts for such an item on the open road, I decided it was time for some changes. While plugging around under the bus, I found that there was some equipment (from the city transit days) that was also leaking. This valve (all torn apart on the bench) was the culprit:

Valve torn Apart

Unknown Valve Torn Apart


Failed Rubber Bits

Failed Rubber Bits

More Failed Rubber Bits

More Failed Rubber Bits

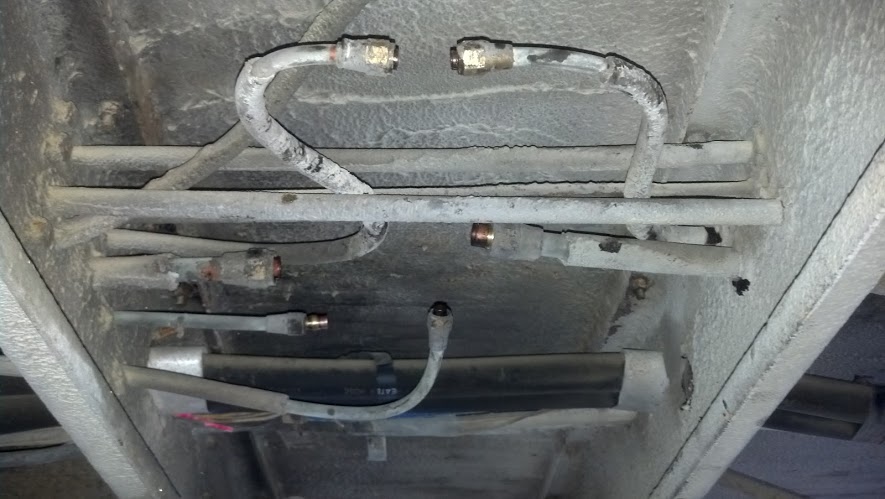
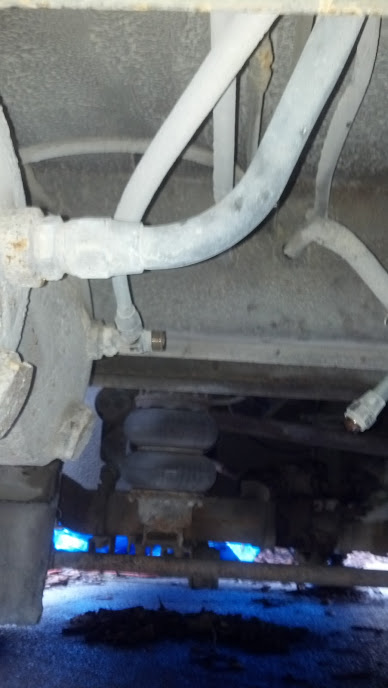
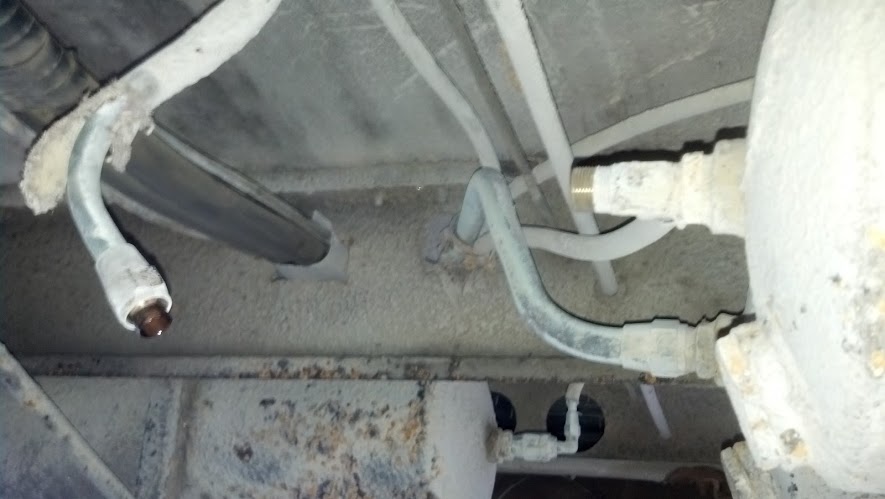
It took some heavy researching to figure out what this valve did. It was installed between the main air-brake service tank and the foot valve in the main pressure line. It also received signals from ‘somewhere’ that I could not find the other end of. The other side of this same “unknown” line went off into a dual input check valve in the rear brake circuit. As much as I boggled my mind (and hit the books) I could not figure out why you would want to interrupt the brake signal. Finally I did some poking around in my New Look book (which I ended up with for $10 off ebay) and found that it was an emergency brake valve (before spring brakes existed). The purpose of this valve was that if there was a massive leak at the foot valve, a small hand-valve at the operators left could be thrown into “emergency mode” which applied air to this valve, closing off air supply to the foot valve. Then, this same signal was sent to the 2-way check valve for the rear brakes, applying the brakes fully and (hopefully) stopping the coach. Crude and rude, but I’m sure it did work (yet was probably never used). It still required air in the main tanks, something that spring brakes do not require (absence of air applies the brakes in an emergency). So, out came the valve, but I was left with a bunch of air-lines to cap/patch/re-connect.

Lots of Air-lines!

Lots of Air-lines!

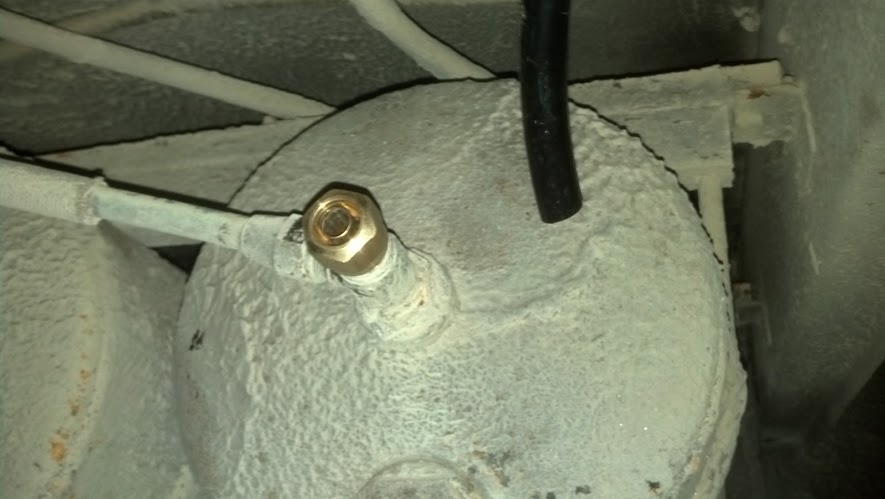
The next step was to re-connect the service brake pressure line. Of course this was originally heavy gauge copper tubing (at some expense!) but the popular choice is plastic air-brake rated tubing and compression fittings. Removing the old copper line was a real chore (almost too stiff to bend, and grommets installed where it passed through the frame members. I disturbed a LOT of dirt. I out-fitted both ends (valve and tank) with the proper ends and installed a piece of blue 1/2 line.

New fitting on the tank end.

New fitting on the tank end.

Removing the Copper above the front axle

Removing the Copper above the front axle

Removing the copper at the tank end

Removing the copper at the tank end

More copper removal

More copper removal

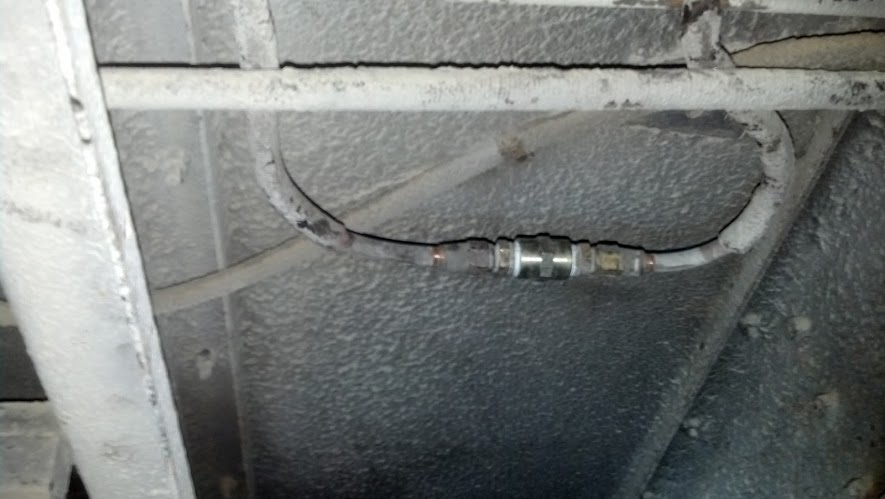
I needed to reconnect the air brake signal line to the rear brakes once the 2-way check valve was removed. I did some fancy footwork with some fittings and gently bent the copper line to make the connection. You cannot kink this material or it will leak and a leak at this junction would be VERY dangerous.

Reconnected signal to rear brakes (removed the 2-way check valve)

Reconnected signal to rear brakes (removed the 2-way check valve)

Next on the slab was replacing the service brake foot valve up front with the new E3 I purchased of e-bay. Newer valves than this have multiple inputs however The Ghost only has a single supply air-tank system (even though it is two tanks, they are tied together, one wet, one dry). The E3 is a close replacement to the D1 and is available at most heavy truck parts places so it was an easy choice. Earlier valves in the D series have the potential for being set up for city bus service, and thus do not give the operator the option of 100% air brake power (injury to passengers a large possibility without seatbelts). Modern day with modern tires/non-commercial driving means I want the aggressive brakes if I need them.

I purchased a new E3 valve as well as a new treadle + plate assembly off of e-bay (the E series bolt pattern/size is FAR different from the D series). This required welding up the old hole in the floor so that it could be drilled for the new bolt pattern/etc.
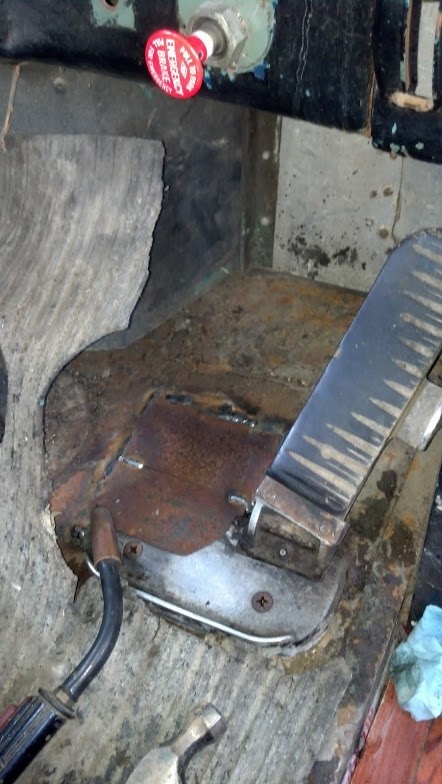
plate_welded

Once this plate was installed, the center hole and mounting holes could be drilled. The E3 valve was set up with the proper fittings in the proper directions to allow for existing brake line connections. I also added a supply line to go directly to my spring-brake emergency valve as well as an application pressure port to go directly to the dual-needle gauge in my dash.

ghost_e3


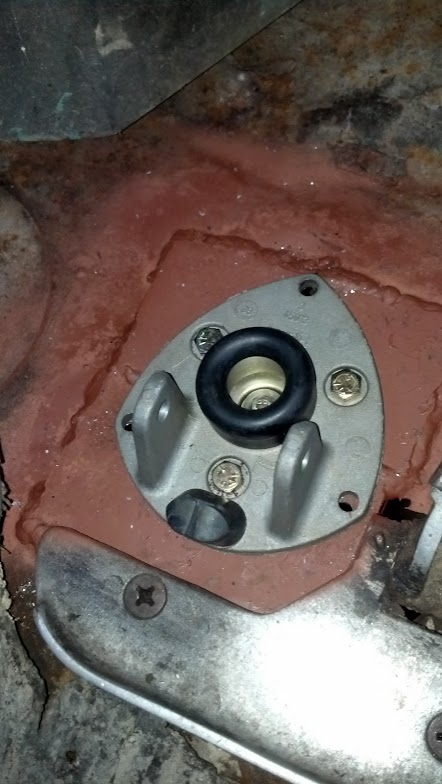
I then mounted the plate (after removing the treadle) directly through the coach body down into the E3 valve. Holes are misaligned here because I left ‘wiggle-room’ in all mounting holes to assist in fine alignment.


e3_installed


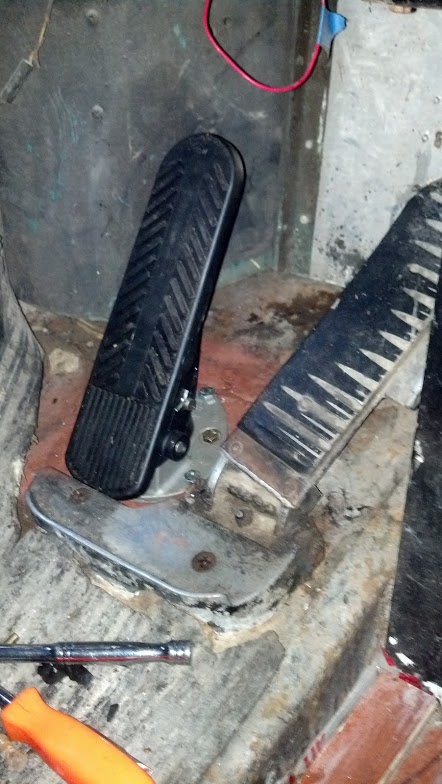
Lastly I reattached the pedal assembly and installed some 5/16 bolts in the outside perimeter to assist in keeping things tight.

e3_finished


We will see how the new brake valve feels on the road…however so far it is looking fairly promising. The high angle of this pedal assembly can be adjusted with some lathe work on the back-roller however I may keep it like this. Getting full 100% application before was a bit tricky (usually required me to toe-into the pedal). Considering the light amount of driving that The Ghost gets these days, I suspect this pedal assembly will outlast the rest of the coach.

Battery Upgrade

Hello again!

I recently addressed the long outstanding issue of The Ghost’s corroded battery tray and dying group 8D battery. The original battery holder was rusted and since it interfered with my black water tank outlet, I had hacked on it heavily to make things work. Two burning-mans later, I decided it was time to properly build a tray to hold some new batteries!

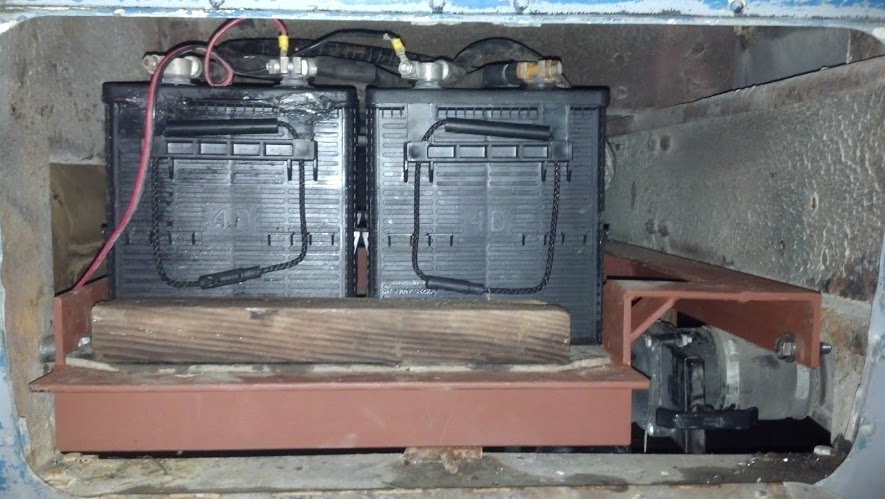
The trickiest bit is that not only must the tray hold the batteries, they must also be removable AND allow for the plumbing to route around them (grey water from fore, black water from aft). Having the hose connection behind this door saves having to cut another door or having plumbing hanging down dangerously low on the chassis to snag on stuff. Originally The Ghost had two group 8D batteries to support the stop/go driving…numerous incandescent lights…and electrics for the door controls/starter/etc. Now that the load is lightened and space is premium, I decided to install two new group 4D batteries that I acquired cheaply (they were blemished and repaired). I normally would prefer one larger battery over paralleled dual batteries but the space only allows for maximally two 4D.

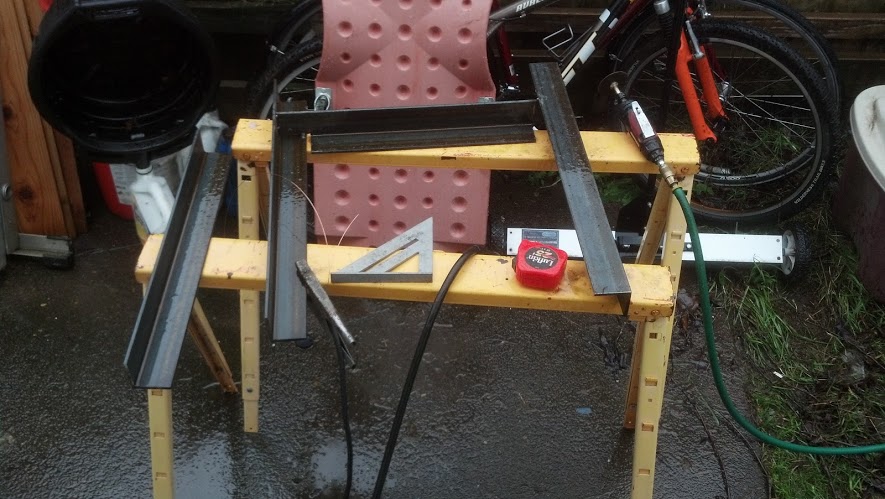
With the old battery carrier removed (held in by bailing wire), I drafted up an idea in my head, purchased a 20ft stick of 1/4″ 2″ steel angle iron and set out to building the tray.

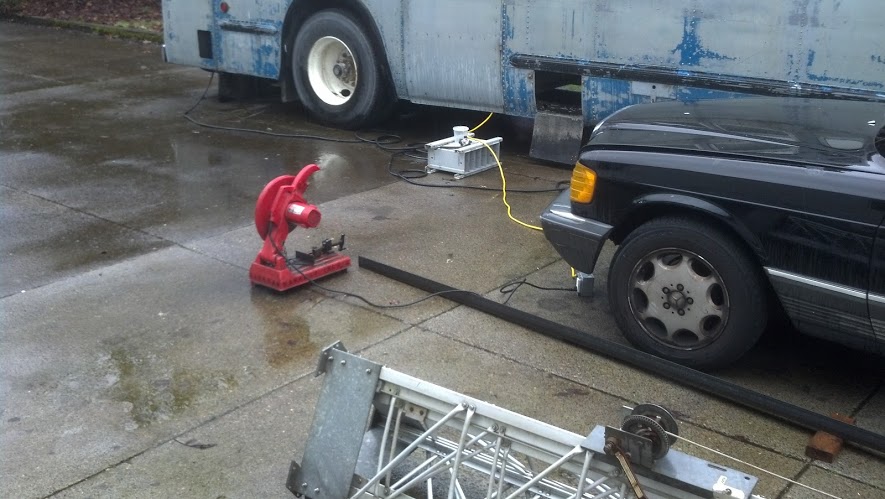
Angle Iron on the chop saw (in the rain)


Scheming the pieces (in the rain). Welding too!

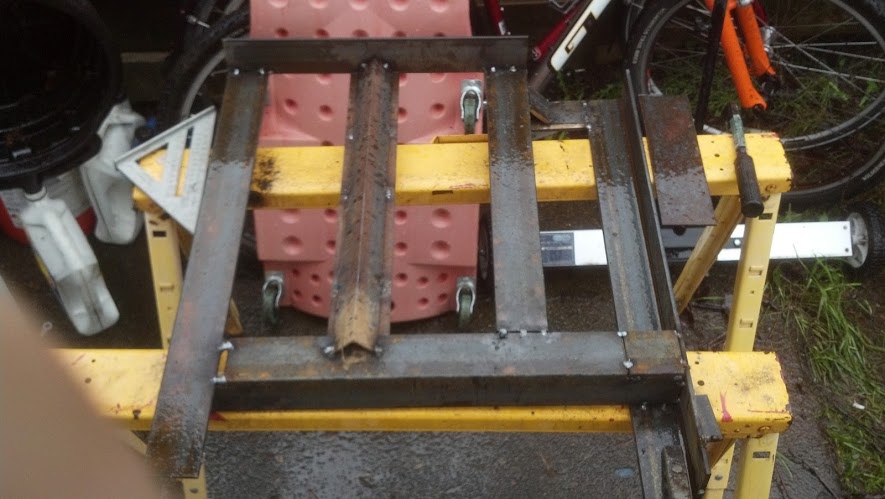
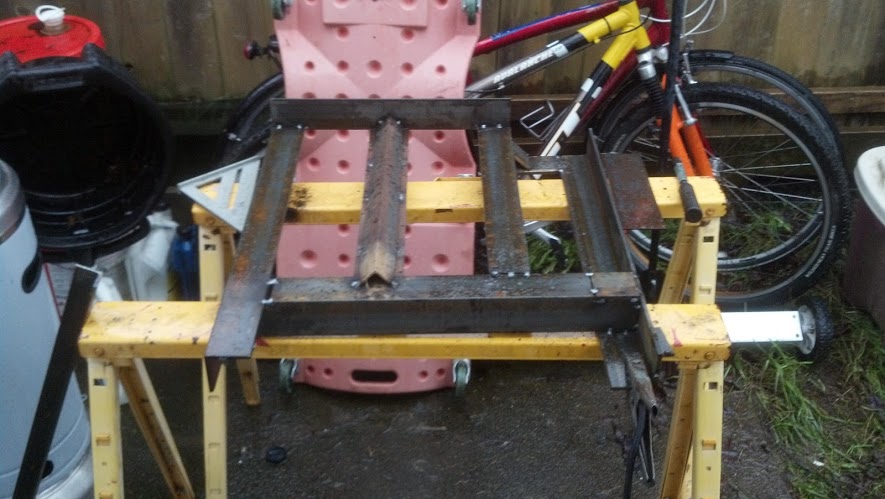
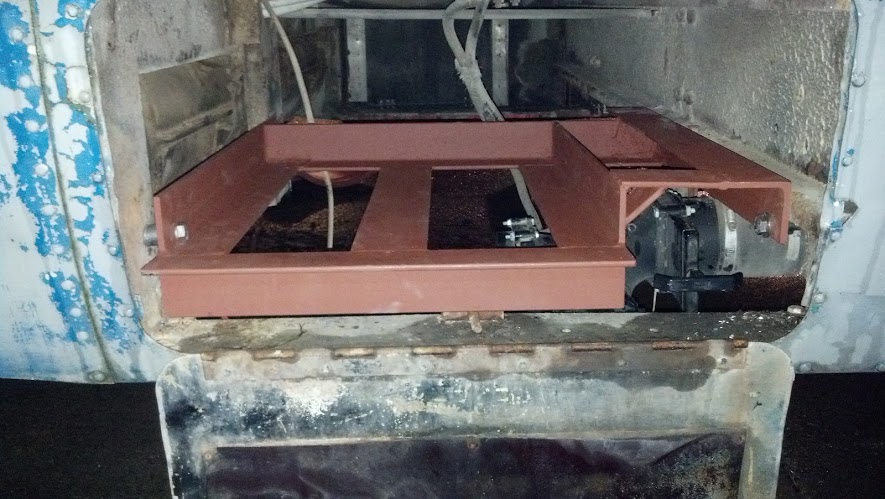
After much cutting/tacking/getting wet and shocking myself, I finally had something tacked together ready for final welding (and it fit like a glove between the frame rails and cleared the sewage tank fitting nicely). Bottom views:

Finshed Product 1Finished Product 2

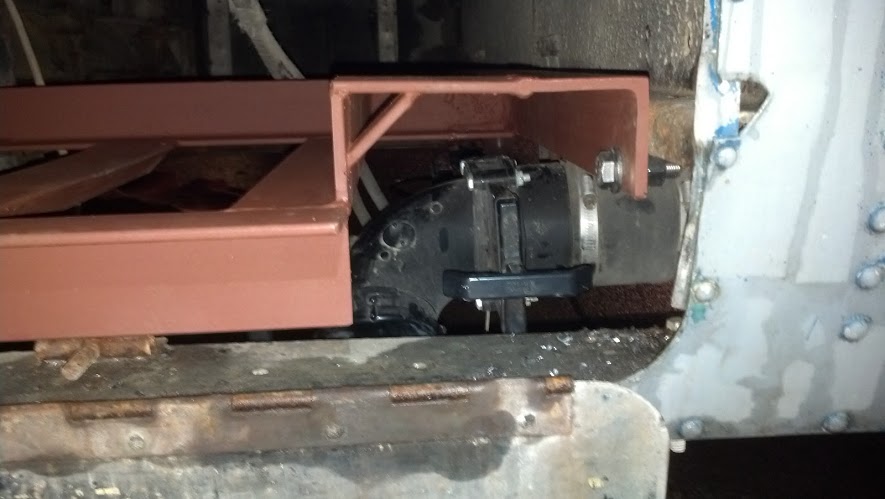
Once everything was welded up and checked for fitment, I blew on some rustoleum brown primer paint and drilled the various holes for mounting. I used fine thread 1/2 stainless bolts/nuts/washers/lockwashers to make sure things didn’t move. In once place I had to use a small spacer to make up the gap difference but in the end it was a perfect fit. On the last hole I killed my Milwaukie 1/2 drill bit (sheared it off laterally) in the frame of The Ghost. THICK STUFF!

Finished Installed Clearing Tank Valves Finished Tray Installed and Primered

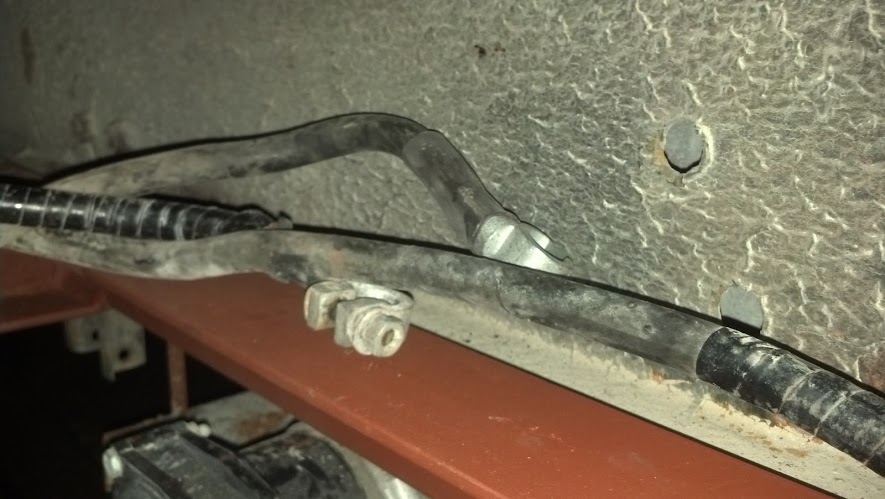
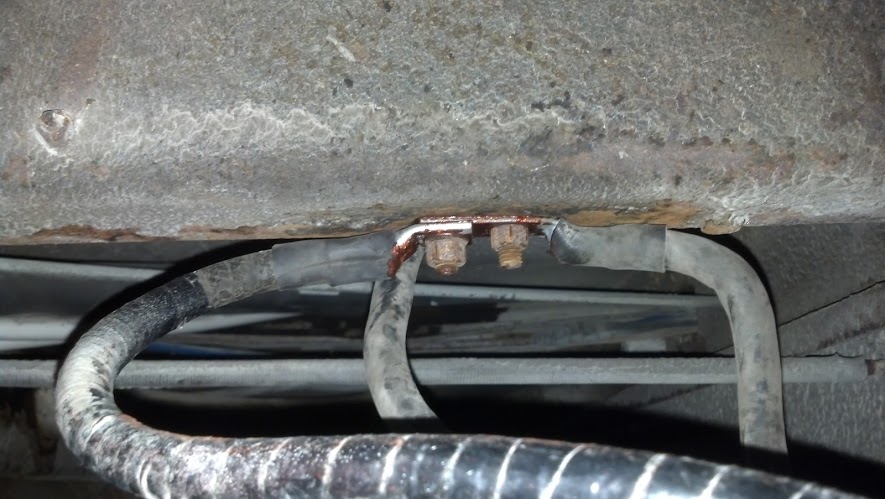
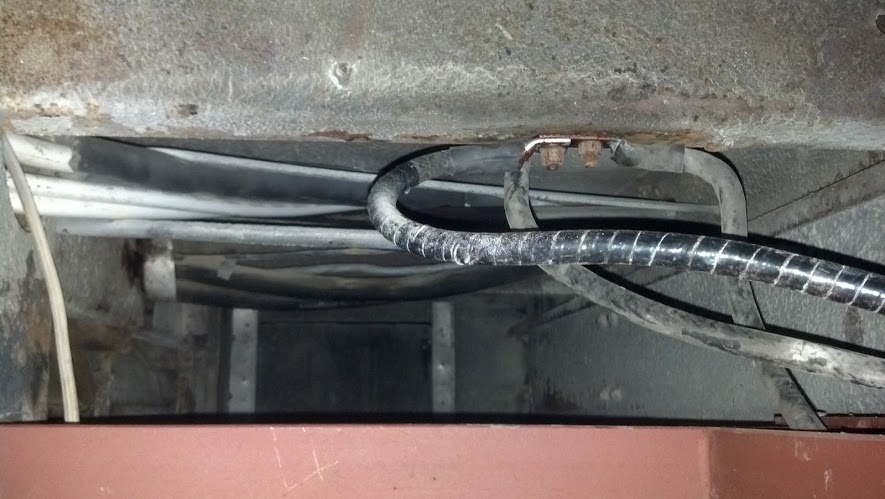
Now it was time to upgrade the battery cables, install some rubber mat, and test fit the batteries/etc.

New Cable Ends New Cable Ends 2 Cleaning and Protecting the Ground

Once all the cables were clean/coated with copper shield/tightened I was ready for the batteries.

Batteries Installed

I obviously need to finish the final securing method to keep the batteries in their tray but the 2×4 is doing the job nicely for now. The temporary red/black duplex wire on the left is the connection to the float charger/house electricals to keep things fresh for solid starting. In the above photo you can see that the batteries are high enough to allow for the 1.5″ grey water plumbing to run under them and across to the front of the coach where the grey water tank will be. The angle piece of the front is simply for structural support and gives me a nice place to mount my battery restraint.

Check back soon for more updates! Thanks for stopping by!


November Update – No News is Good News

Hello again!

The Ghost has been sitting quietly in the driveway these past couple months enjoying some much needed rest. The return trip from BurningMan 2012 was uneventful although VERY long (multiple construction zones stopped us many times, and we didn’t hit pavement until closer to noon departing BRC). I think we rolled into PDX right around 0230. I don’t like pushing it that hard, but I had a good amount of pre-trip rest stored up to tap into. The ghost never missed a beat and once we got back down under 500ft elevations, it was coming on night so the air cooled off and the horsepower really jumped up to make the I-5 stretch rather speedy.

I took her out last weekend to go service the black water tank (had been sitting in the driveway since early September) and blow the cobwebs out. Unfortunately I once again plugged up a fuel dip tube in the tank so I need to fix that (again). There must be more junk floating around in the tank causing issues. Shy of that annoyance, the rest of the trip was uneventful.

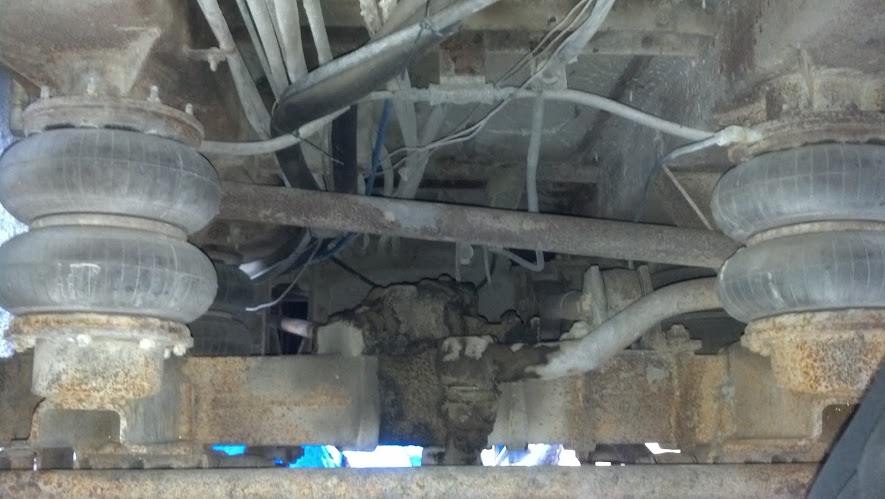
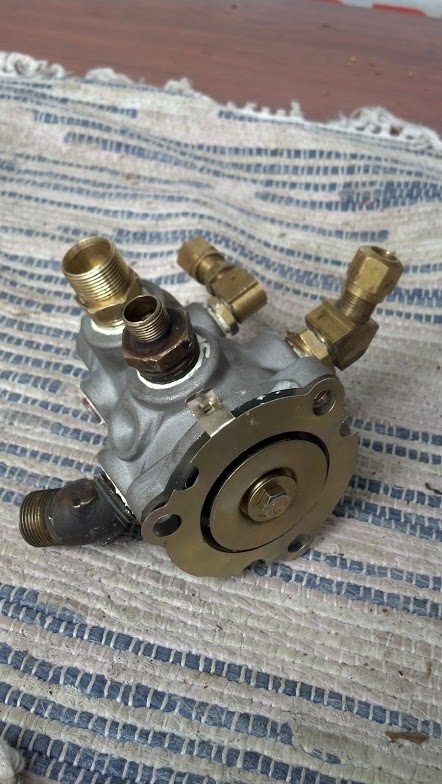
When I brought her back into the parking slot and shut things down, it turns out that some small air leak has reared it’s head under the chassis. Some quick investigation shows it right off the main dry air tank feed line to the brakes in some odd little aluminum block. I will investigate further and either a) repair the block or b) find that it’s other lines run nowhere and it can be replaced with a straight coupling. Half the air line leaks on the coach have been repaired by just removing unused fittings/lines (which used to run air doors, etc.) Otherwise, the only other concerning leak is some small one on the drivers side rear air suspension . To keep things ‘level’ I have to keep her attached to my air compressor for a weekly fill-up of the aux tank.

Next on the list is getting the two new Group 4D batteries installed for hopefully better cold weather starts and also getting the hydronic heating system installed for the early February camp-out we always attend. I usually use a 120V 1500W oil radiator heater but it’d be nice to at least have the system functioning for a full-on test. Roof painting is on hold until the weather becomes more agreeable. I am also going to start working on the coach HVAC control circuity (thermostat that will control two zones of both heat and AC)
I’ve also been slowly bringing the deep cycle batteries up to full charge that I scored out of the old paper mill. The appear to be holding charge nicely and the internal impedance is looking nice and low so far. I will start load testing them soon to see what happens. I have a holder for about 400-500A/hr of these at 24V to run the future desired inverter/charger & onboard systems (the coach itself is 12V).

More to come soon and hopefully some more interior shots as I build it out more and get it all cleaned up.

Thanks,


Interior Documenting August 2012

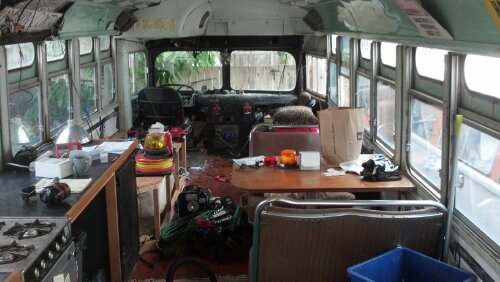
Some quick photos of the inside and current build state before Burning Man 2012.


I am right in the middle of finishing out the bathroom enough to have a decent shower space so that plus the kitchen sink area is a bit under construction…

View looking forward from entry door landing:

image

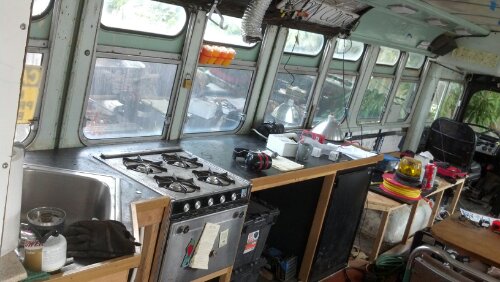
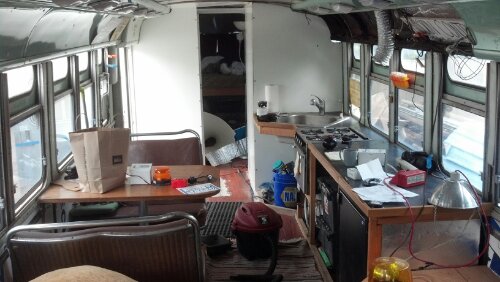
View of the kitchen from the entry landing:

image

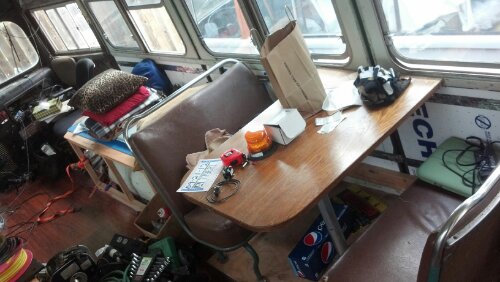
Seating area (stock bus seats from the 50’s), lightly elevated for breaking up single plane interior:

image

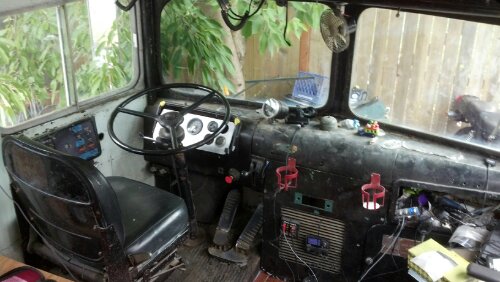
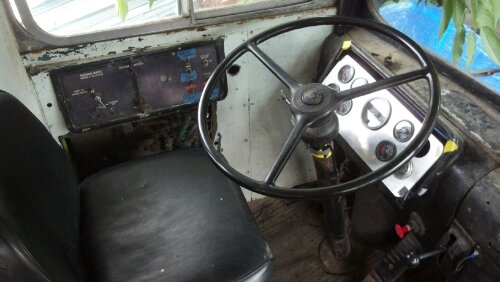
Drivers position (dash not yet fixed in place with screws):

image

Drivers control panel/seat/steering wheel/pedals:

image

View from the front facing back towards the bedroom/bathroom w/ sliding door open (dining room chairs lightly tilted to help keep people ‘in the seat’.

image

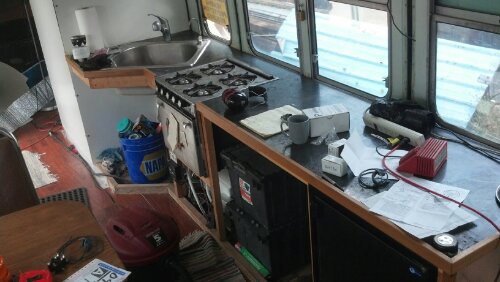
Kitchen view from the front. Sink/stove/fridge visible, not yet framed for storage or drawers/power equipment:

image

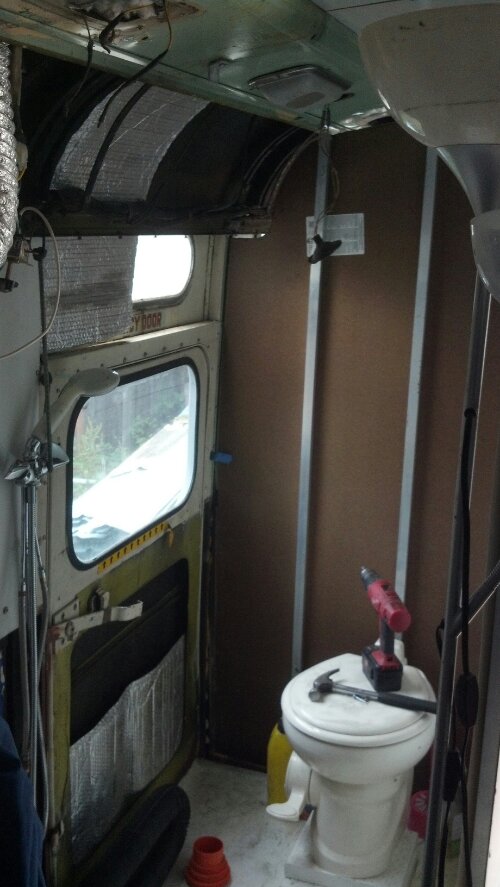
Bathroom current status (removed upper advertisement panels), ready for insulation and plastic wall material behind toilet.

image


Thanks for checking in!

Window Tinting!

After last year’s desert excursion (Burning Man 2011) and with our recent visit to 4th of Juplaya (2012), we decided that window tinting was now upgraded to a MUST HAVE to be able to survive in a metal tube (with glass windows) in the desert.

I picked up some ‘somewhat’ reasonably reviewed Gilla window tinting from Lowes (similar price to Amazon) and while it isn’t rated for automotive applications, should work nicely on the RV application. It is an actual adhesive (not static cling) and installs just like it would on a car (soapy solution + plastic knife). The results have been quite decent for single pane glass. I first did a rear bedroom window (directly facing into the sun) and it made a 10-12 degree F difference in surface temperature (on the white mattress). The glass had a slightly higher temperature but when viewing from the outside, it is obvious that the tint/thermal management film is doing it’s job (good rejection).

This, combined with the white painting that is happening, should DRASTICALLY improve interior temperatures of the coach in the summer heat in the desert. We don’t often open the windows at Burning Man (bad dust) so having them closed with this film should help the situation. I’m hoping it will be decent enough for us to not need to run our solar reflectors (silver bubble wrap) inside the windows as well but we shall see. The overall ‘tint’ of the windows isn’t that substantial however the reflective rejection properties are pretty decent.

For your consideration, tinted on the left, non-tinted on the right. Noticeable difference. I haven’t tinted the upper smaller windows yet.

I should have the rest finished off in the next couple nights!

image


Thanks for checkin’ in!