Replacing the Rear Leveling Valves

I recently got a good deal on some somewhat generic leveling valves for The Ghost off of E-Bay. They were both right valves, so I modified the bracket of one so it could be for the left side rear. For those not familiar, these are thevery small little devices that tell the fairly large air-bags in the suspension how high/low the body should be in relation to the axles. These valves exist to make up for changes in loads, leaks, and other oddities that would otherwise be present in a simpler suspension system.

From the bottom right (inlet), it passes through a filter, then through a check valve, then through two more screens before entering the valve. The black tube is an exhaust port (for letting air out of the bags…such as when a bunch of people disembark) and the elbow port goes out to the air-bags. The flat piece of steel in the background tied to the black plastic part is the arm that connects to the axle via link to sense its proximity in relation to the valve (and thus, body). Movement of this arm upwards (axle closer) means add more air and conversely, as the axle moves away, remove air from the suspension. There is a small bulb of viscous fluid at the bottom that dampens this effect so quick changes (like a pothole or bump in the road) don’t make massive suspension changes.

image


Upon rebuilding the plumbing that is specific to The Ghost attached to these valves, I found that the in-line filters had long failed (foam). Using a trick I learned with PCV plumbing on early water-cooled I4 VW’s, I wadded up some scotch brite type pad (rolled) and installed it into the space where the filter had been. The filter is to keep material out of the check valve and it works like a charm. I also cleaned/inspected the check valves that keep the air-bags from connecting to the main tank when the main tank is depressurized and the bags call for air.  I also replaced some failing o-rings that were >50 years old.

image

Here is another photo of a modified bracket for the drivers side valve. It currently is mounted with only one bolt, however the stiff copper lines and ease of valve action should keep it in place until I get near a welder and lengthen the valve mounting tab.

image
Unfortunately the passenger side valve started leaking the viscous fluid when I added air pressure so I will have to attempt to re-seal it or get it warrantied. Without the fluid, the coach would respond to movements as small as someone stepping in the door (and thus, burn up all the suspension tank air rather quickly). Wind can also do this too when these valves have failed into the quick reacting state.

The front valve check valve has stuck open however the leveling valve itself may be savable. I was unable to investigate because the suspension was so far collapsed in the front after me doing the service that I could not fit under the frame/skirting.

As a note, NEVER attempt work on an air-suspension system (or even go under a vehicle) unless the frame is supported adequately with a jack/stand/high density SOLID lumber. Here is a photo of an ‘experiment’ showing exactly what one side a mere 15,000lb rear end weight can do to some improper cribbing

My support of choice is a 30ton hydraulic jack. Also The Ghost is fitted with 4-corner built-in stands however I do not trust these for anything but camp-spot stabilization.
Until next time,

Issue w/ the Governor – Explained

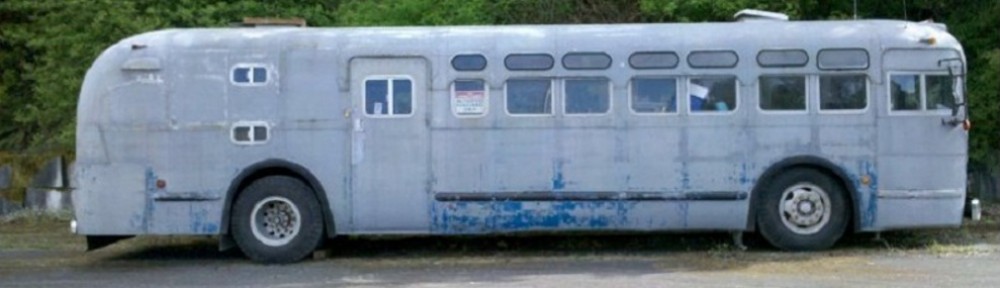
So recently I’ve been tracking down an issue on The Ghost regarding power to climb hills.

Obviously the bus is heavy, an automatic, and not well powered (238HP near sea level) but it still seemed slow…slower than before I did the head/transmission swap. So I investigated.

After the last rack run and governor setting, I had so little power that I couldn’t even get on the freeway and break 30MPH. I found that I had to perform the same trick I had before, bury the governor air-gap screw, to make any reasonable power to shove down the road. I did this, and it still seemed poor at climbing hills (direct drive, not overdrive).

I was tinkering around with the governor the other evening, toying with settings and investigating any possible solutions to the lower power issue. What I eventually came across was the fact that the governor cover was NOT original and had been modified by someone in the past (this cover was new to The Ghost upon putting the 4-valve head and newer style shutdown solenoid on). Someone had welded a piece of flat-bar steel to the shaft coming through the cover, which was all find and well except that the flat bar was so ‘thick’ that the rack actually contacted it at about 70-75% while it was resting against it’s stop pin. The result of this contact was that the rack could never reach full open (like when climbing a hill under load). Not being able to give the engine the fuel it wanted while approaching a climb meant it quickly fell out of the desired power range and down into ‘crawl’ mode.

The quick and dirty, rather than replace the whole cover, was to just drive the stop-pin back upwards through the cover and let the shutdown arm rest a bit more towards the head and out of the way of normal road operation.

This repair made a very nice difference.

There appears to still be an issue with calling for fuel to match the power, but since I have not yet re-run the rack and governor setup, we shall see if the gov. gap screw still needs to be buried to make the coach move.

In other news, the spring arrived for the transmission O/D that had broken on our trip to Burning Man 2011. I swapped it in last night while in Newberg, OR  heading home and it unfortunately did not fix the issue. I was skeptical. I will likely have to jack up the rear axle so I can do some speed related tests and measure pressures on the transmission. I currently suspect either a sticking valve (you can feel the coach lightly shudder as if it was attempting to shift into O/D, and also when coming out) or possibly something causing a massive fluid dump when going into O/D causing it to float and stay in direct drive.

If something were damaged (blown planetary, input shaft issue, or blown clutch) I am figuring (by looking at the book) that it would free-wheel and act like a neutral shift, rather than stay in direct drive. I will investigate further.


Closet Installation Beginning

Tonight while I was working on the front seating areas, Emily was in the back clearing out the clutter and vacuuming/preparing the bed for our coming camp-out. As a tribute to her efforts, we mounted the first two rails of the three rail closet system. This area will have a fixed top shelf and many lower shelf/drawer combinations for storing clothes. The only trick will be designing the retaining system for when underway.

Fairly impressive drawer setup (mirrors racking used industrially/in supermarkets) for strength and simplicity. I only installed one screw per rail into the bus subframe and this was adequate to support multiple drawers full of material. Once I get another few attachment points per rail into the frame things will really be bulletproof.

We decided on open-air storage for clothing for ease of interior transportation, effective use of space, visibility, incoming window lighting, and also ease of cleaning. All big considerations when doing mixed Pacific NW and Desert camping.

On the right of this will be a taller clothing storage area for suits/costumes/coats/etc. This of course is all inside the secure sleeping area (locking door to be built between the main cabin and the private bedroom/bathroom/workdesk.

Exciting times.image